Video Tutorial #
PeepSo Configuration #
Administrators can enable Amazon S3 Storage for uploaded photos. You’ll have an option to choose whether PeepSo will still save photos on local servers or only store them on Amazon S3 but loading images from S3 will save the server’s bandwidth.
To access these options, navigate to WP Admin -> PeepSo -> Configuration -> Photos
Set “Enable AWS S3 storage” option to yes.
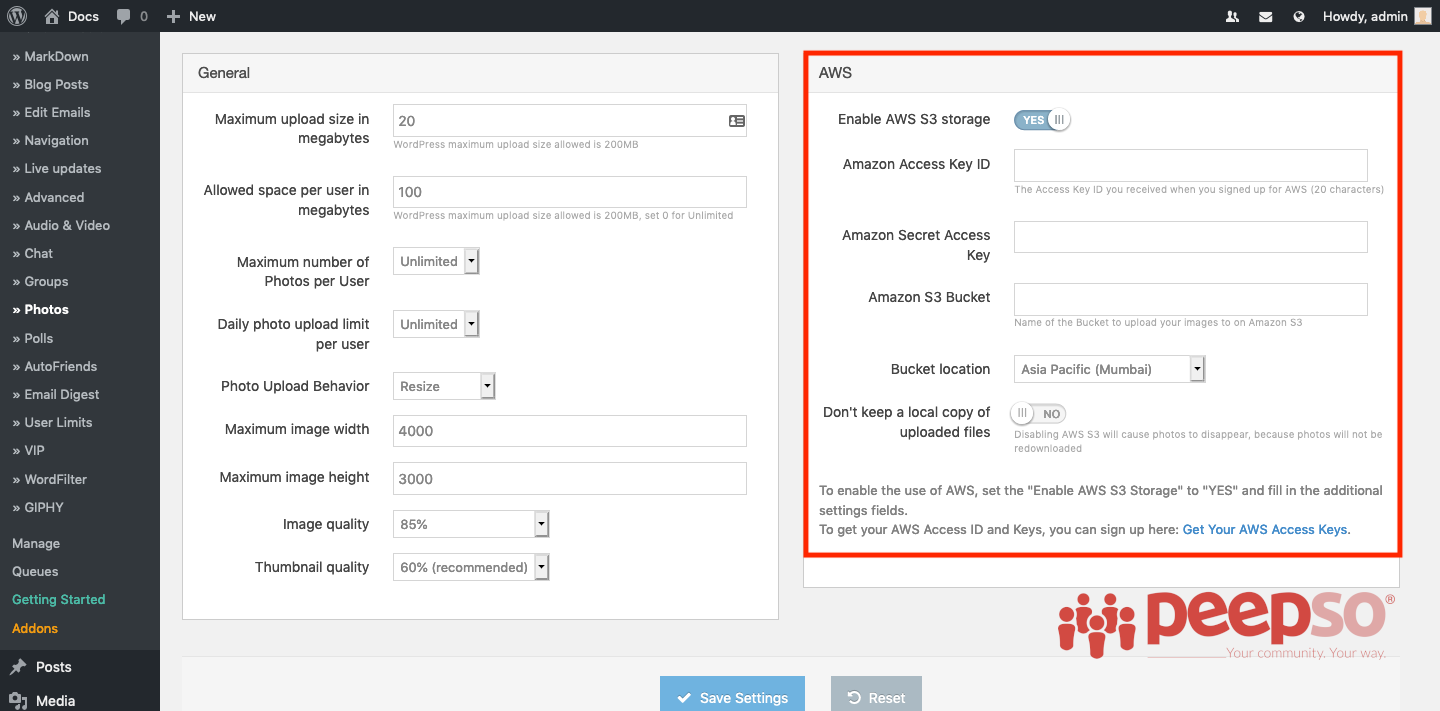
Following options are available:
- Amazon Secret Access Key (Required)- Enter your Amazon Secret Access Key here if you wish to use AWS S3 Storage.
- Amazon S3 Bucket (Required)- Enter your Amazon S3 Bucket name here if you wish to use AWS S3 Storage.
- Bucket Location (Required)– Select bucket location of Amazon S3 Bucket
- Don’t keep a local copy of uploaded files (Optional) – When enabled photos will not be saved on local server, disabling AWS S3 will cause photos to disappear, because photos will not be re-downloaded.
Setting Up The Bucket And Storage Location #
- Login to Amazon AWS Management Console with the Root user. (Do not sign in as IAM User)
- Once in the console, search for S3 and click on it

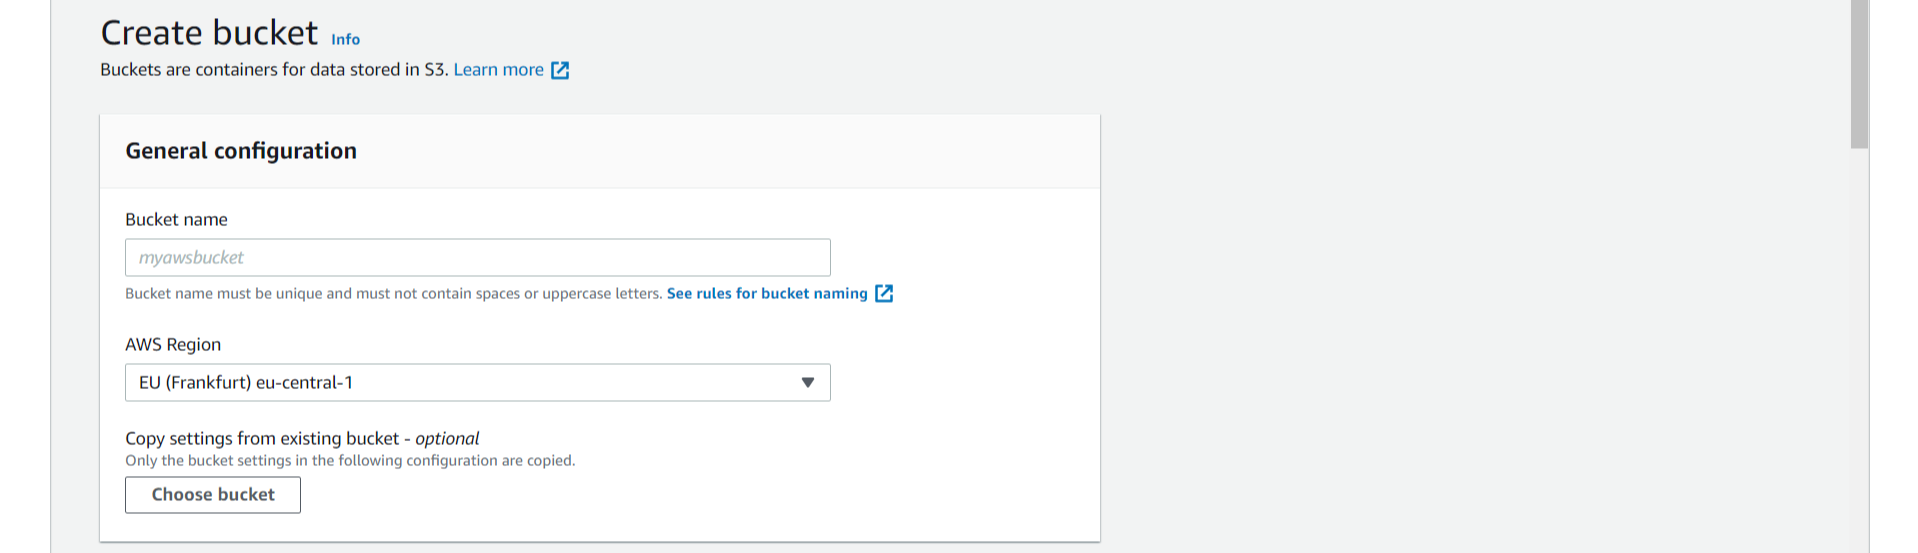
- Once the S3 panel is opened, click on “Create bucket” button

- In general configuration enter the bucket name, in all lowercase
- Also, select the desired region
- (Optional) If you have other bucket, you can copy their configuration to the new bucket but we generally don’t recommend this unless you know exactly what you’re doing, so for the purposes of this guide, leave this option alone.
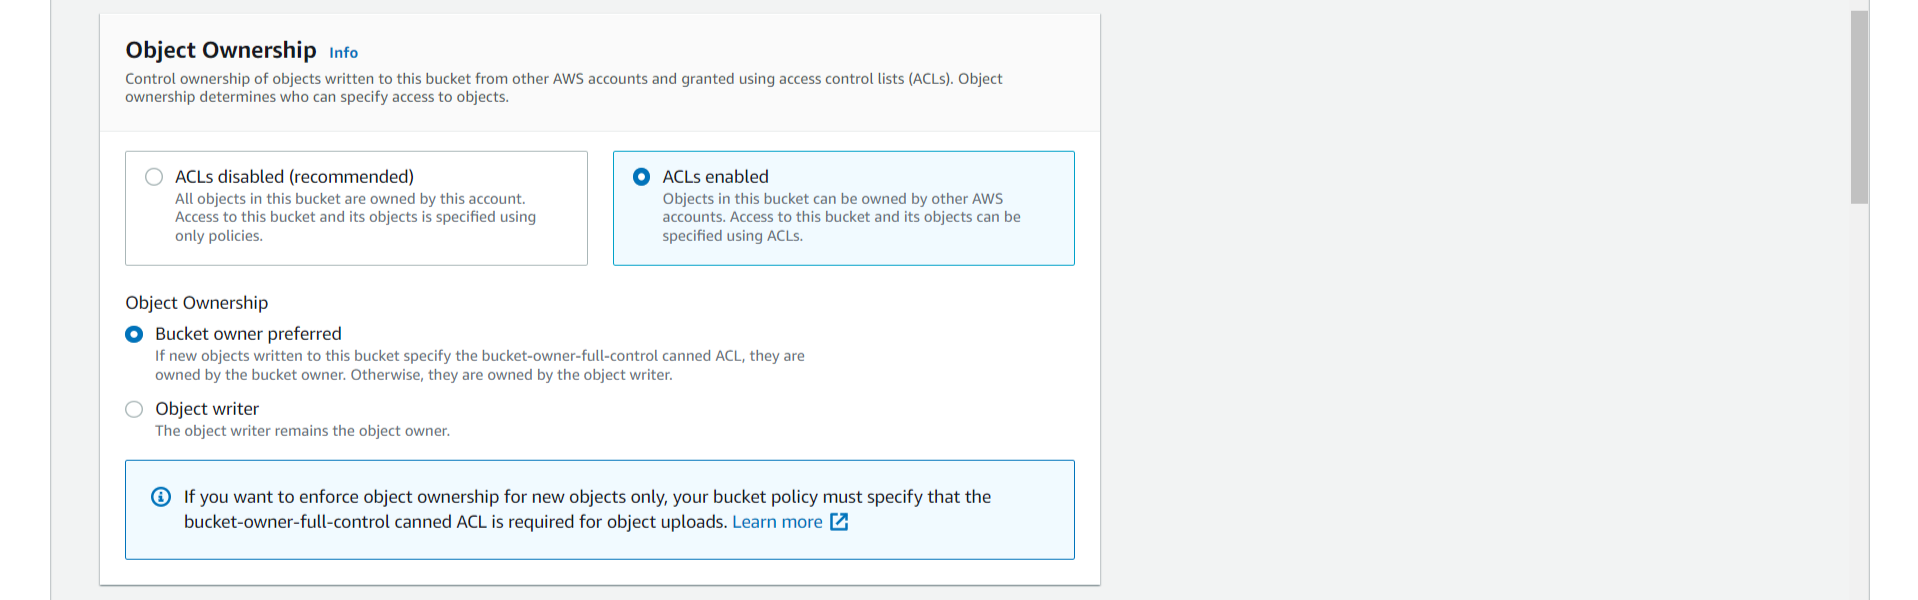
- For the object ownership, select ACL’s enabled and Bucket owner preferred as shown in the image below;
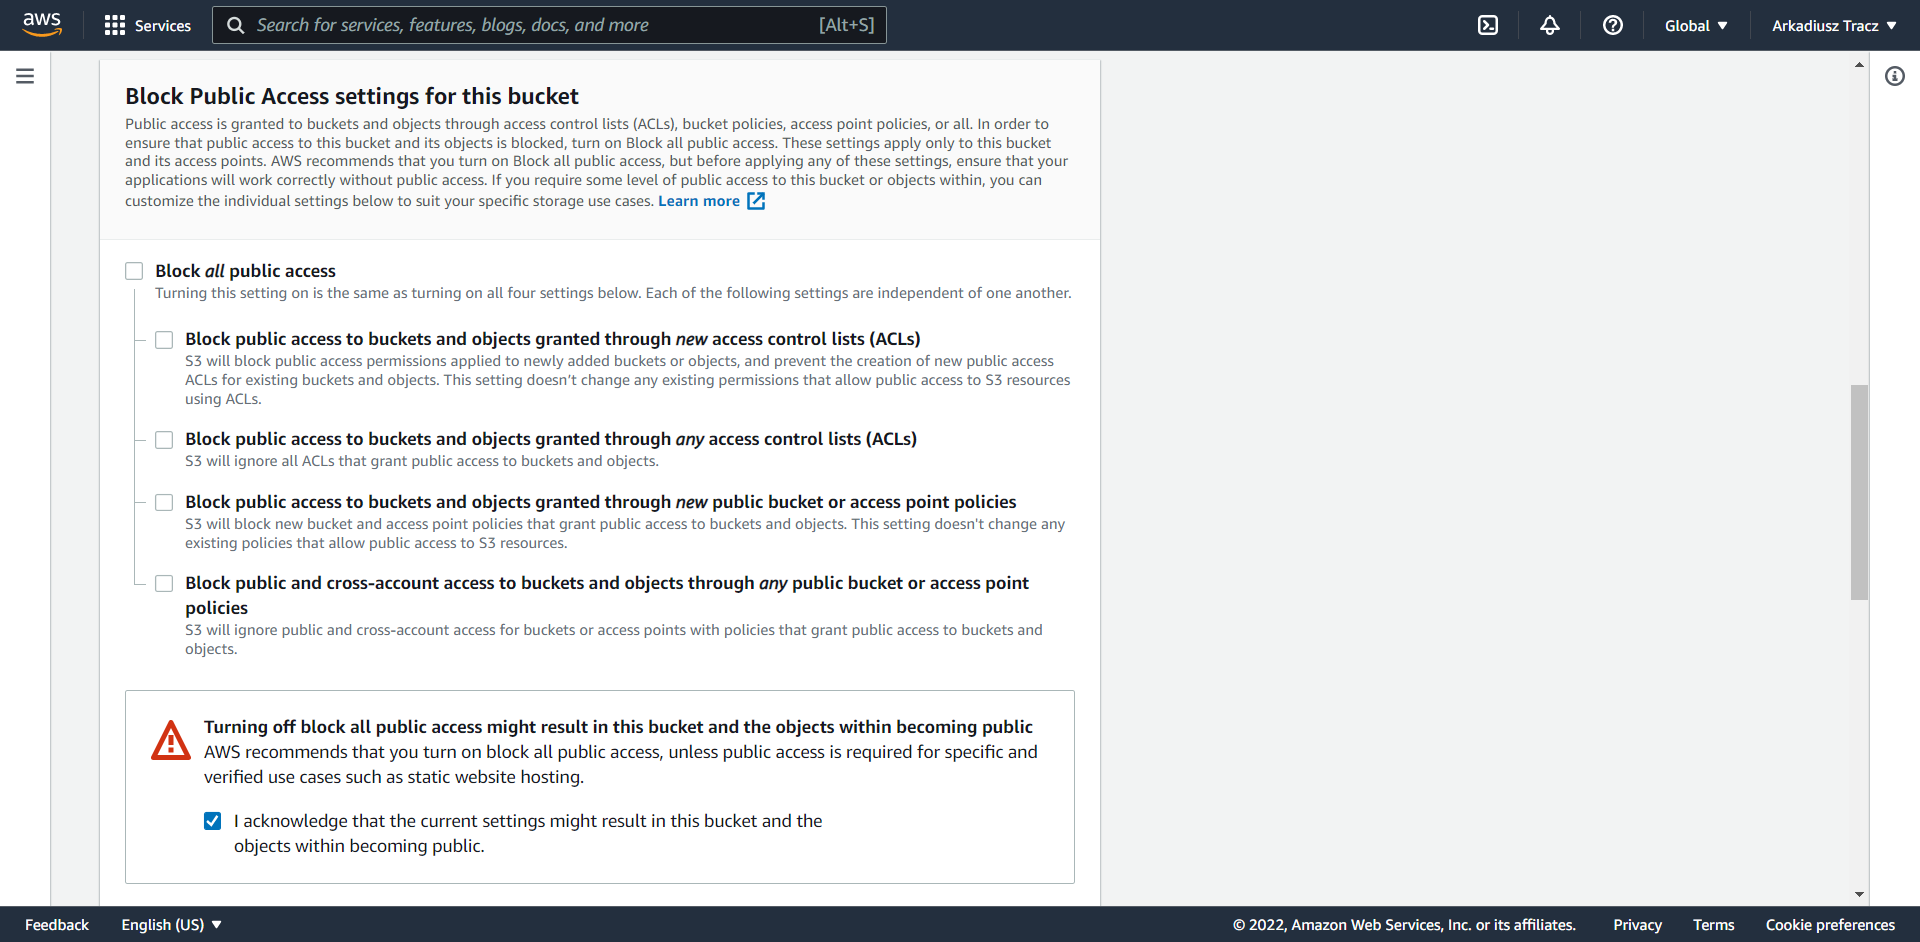
- Uncheck “Block Public Access settings for this bucket” exactly as shown in the image bellow. Don’t worry, this is not a privacy issue.
- Bucket versioning, tags, default encryption (Encryption type & Bucket key), and Object lock in advanced settings are all optional and we don’t require them here. You can skip these options and click on “Create bucket“
- Now, go back to your website backend, and enter the exact bucket name and region you selected during the bucket creation. This information needs to be added in WP Admin -> PeepSo -> Configuration -> Photos -> Amazon S3 Bucket and in WP Admin -> PeepSo -> Configuration -> Photos -> Bucket Location
Creating The Access And Secret Keys #
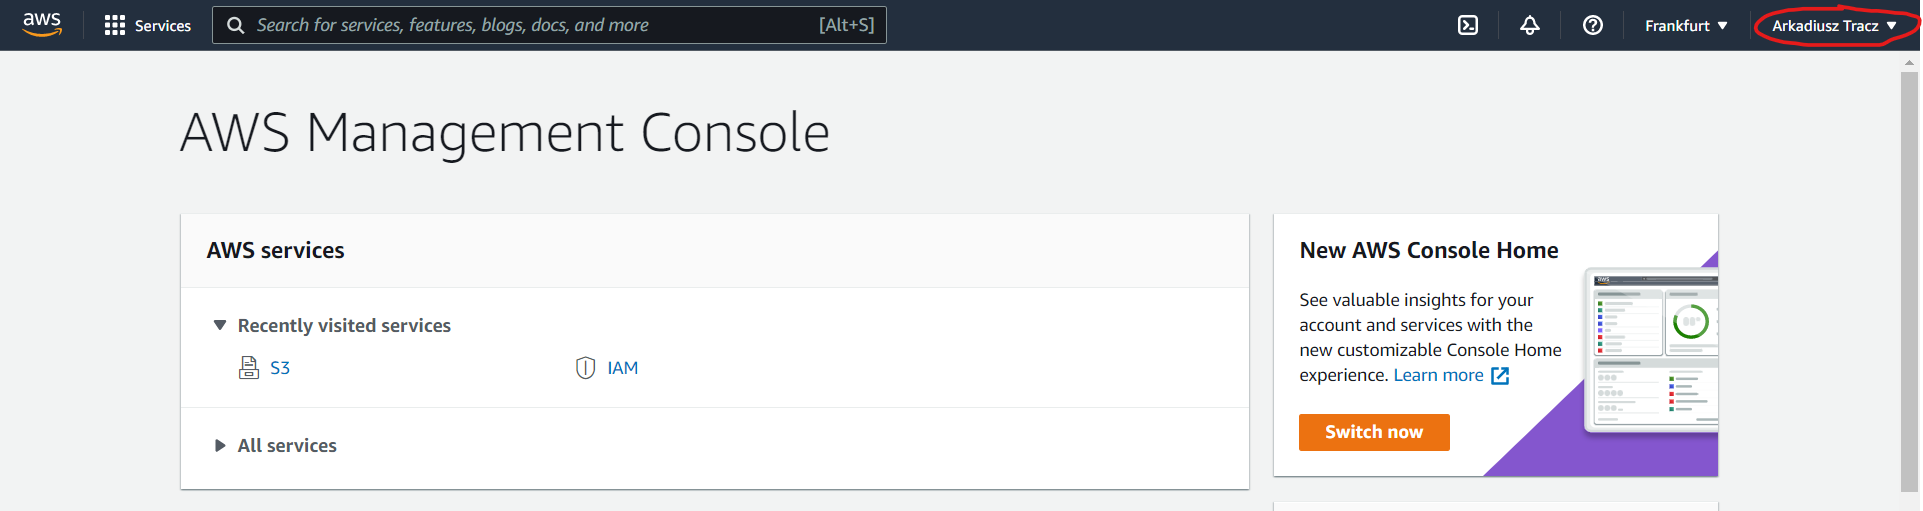
- Click on the username of your Amazon AWS account in top right corner and select “Security credentials“
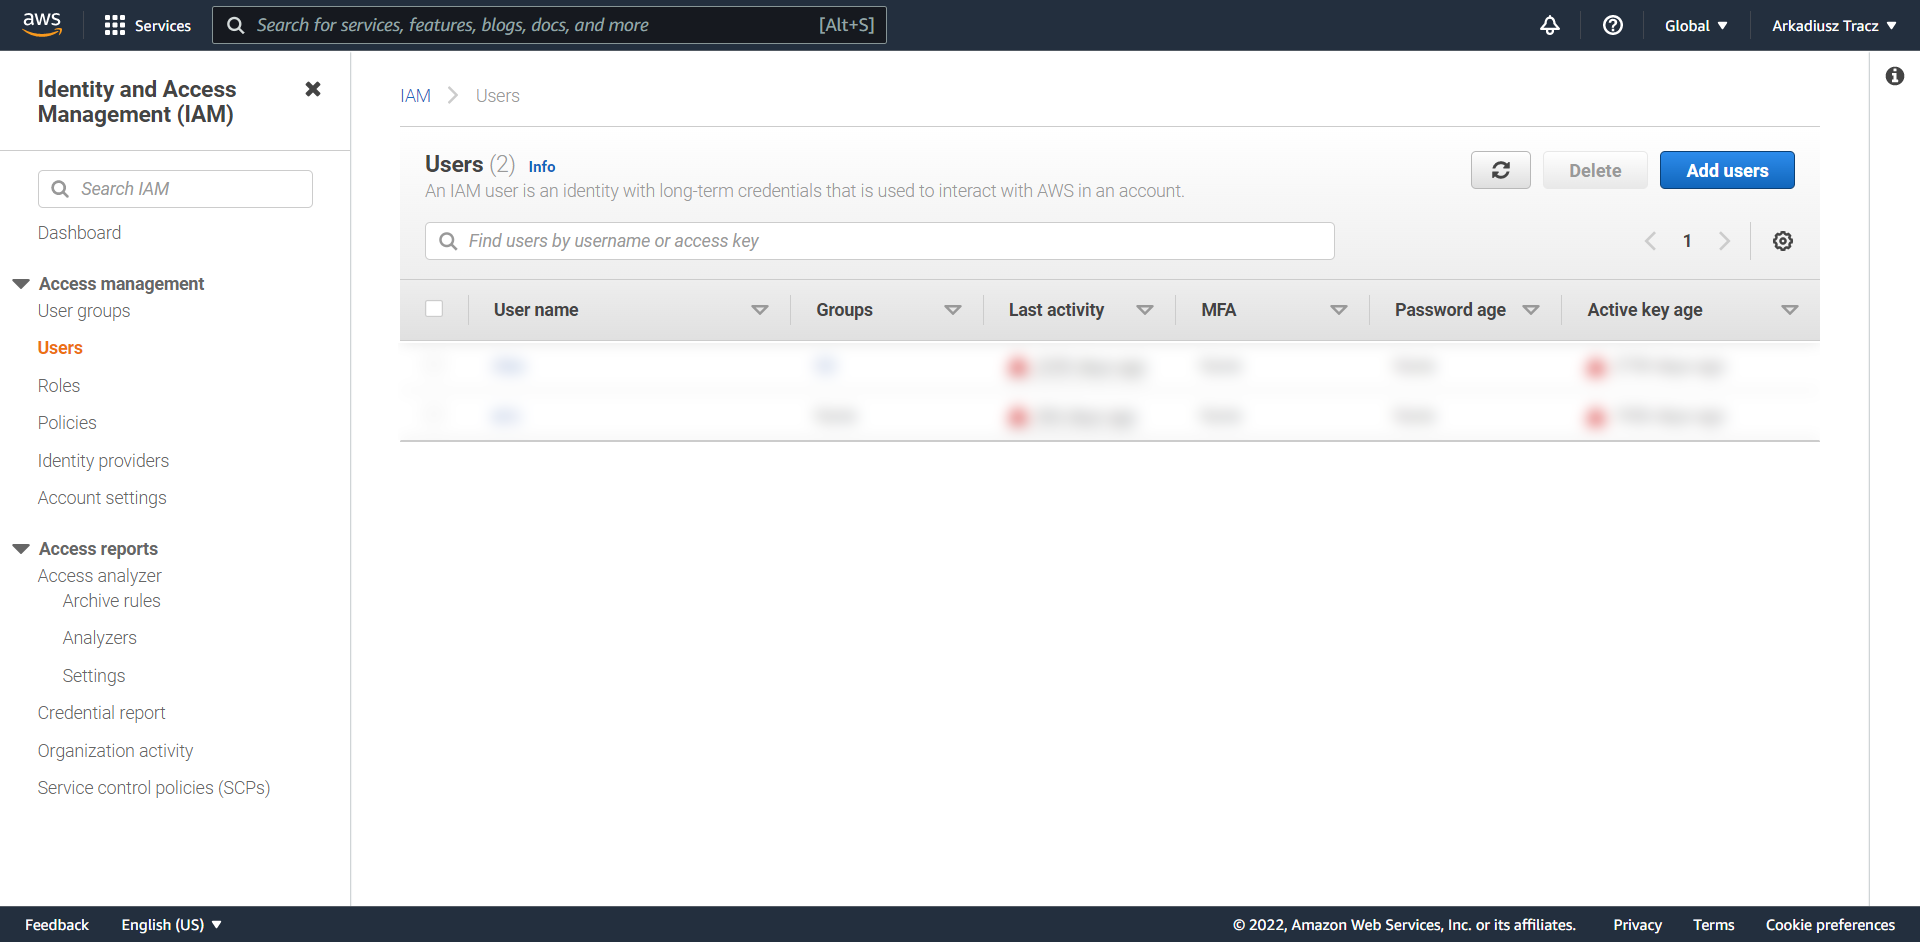
- Identity and Access Management (IAM) console will now be open. In the left sidebar, switch to “Users” and create new user by clicking on “Add users” button
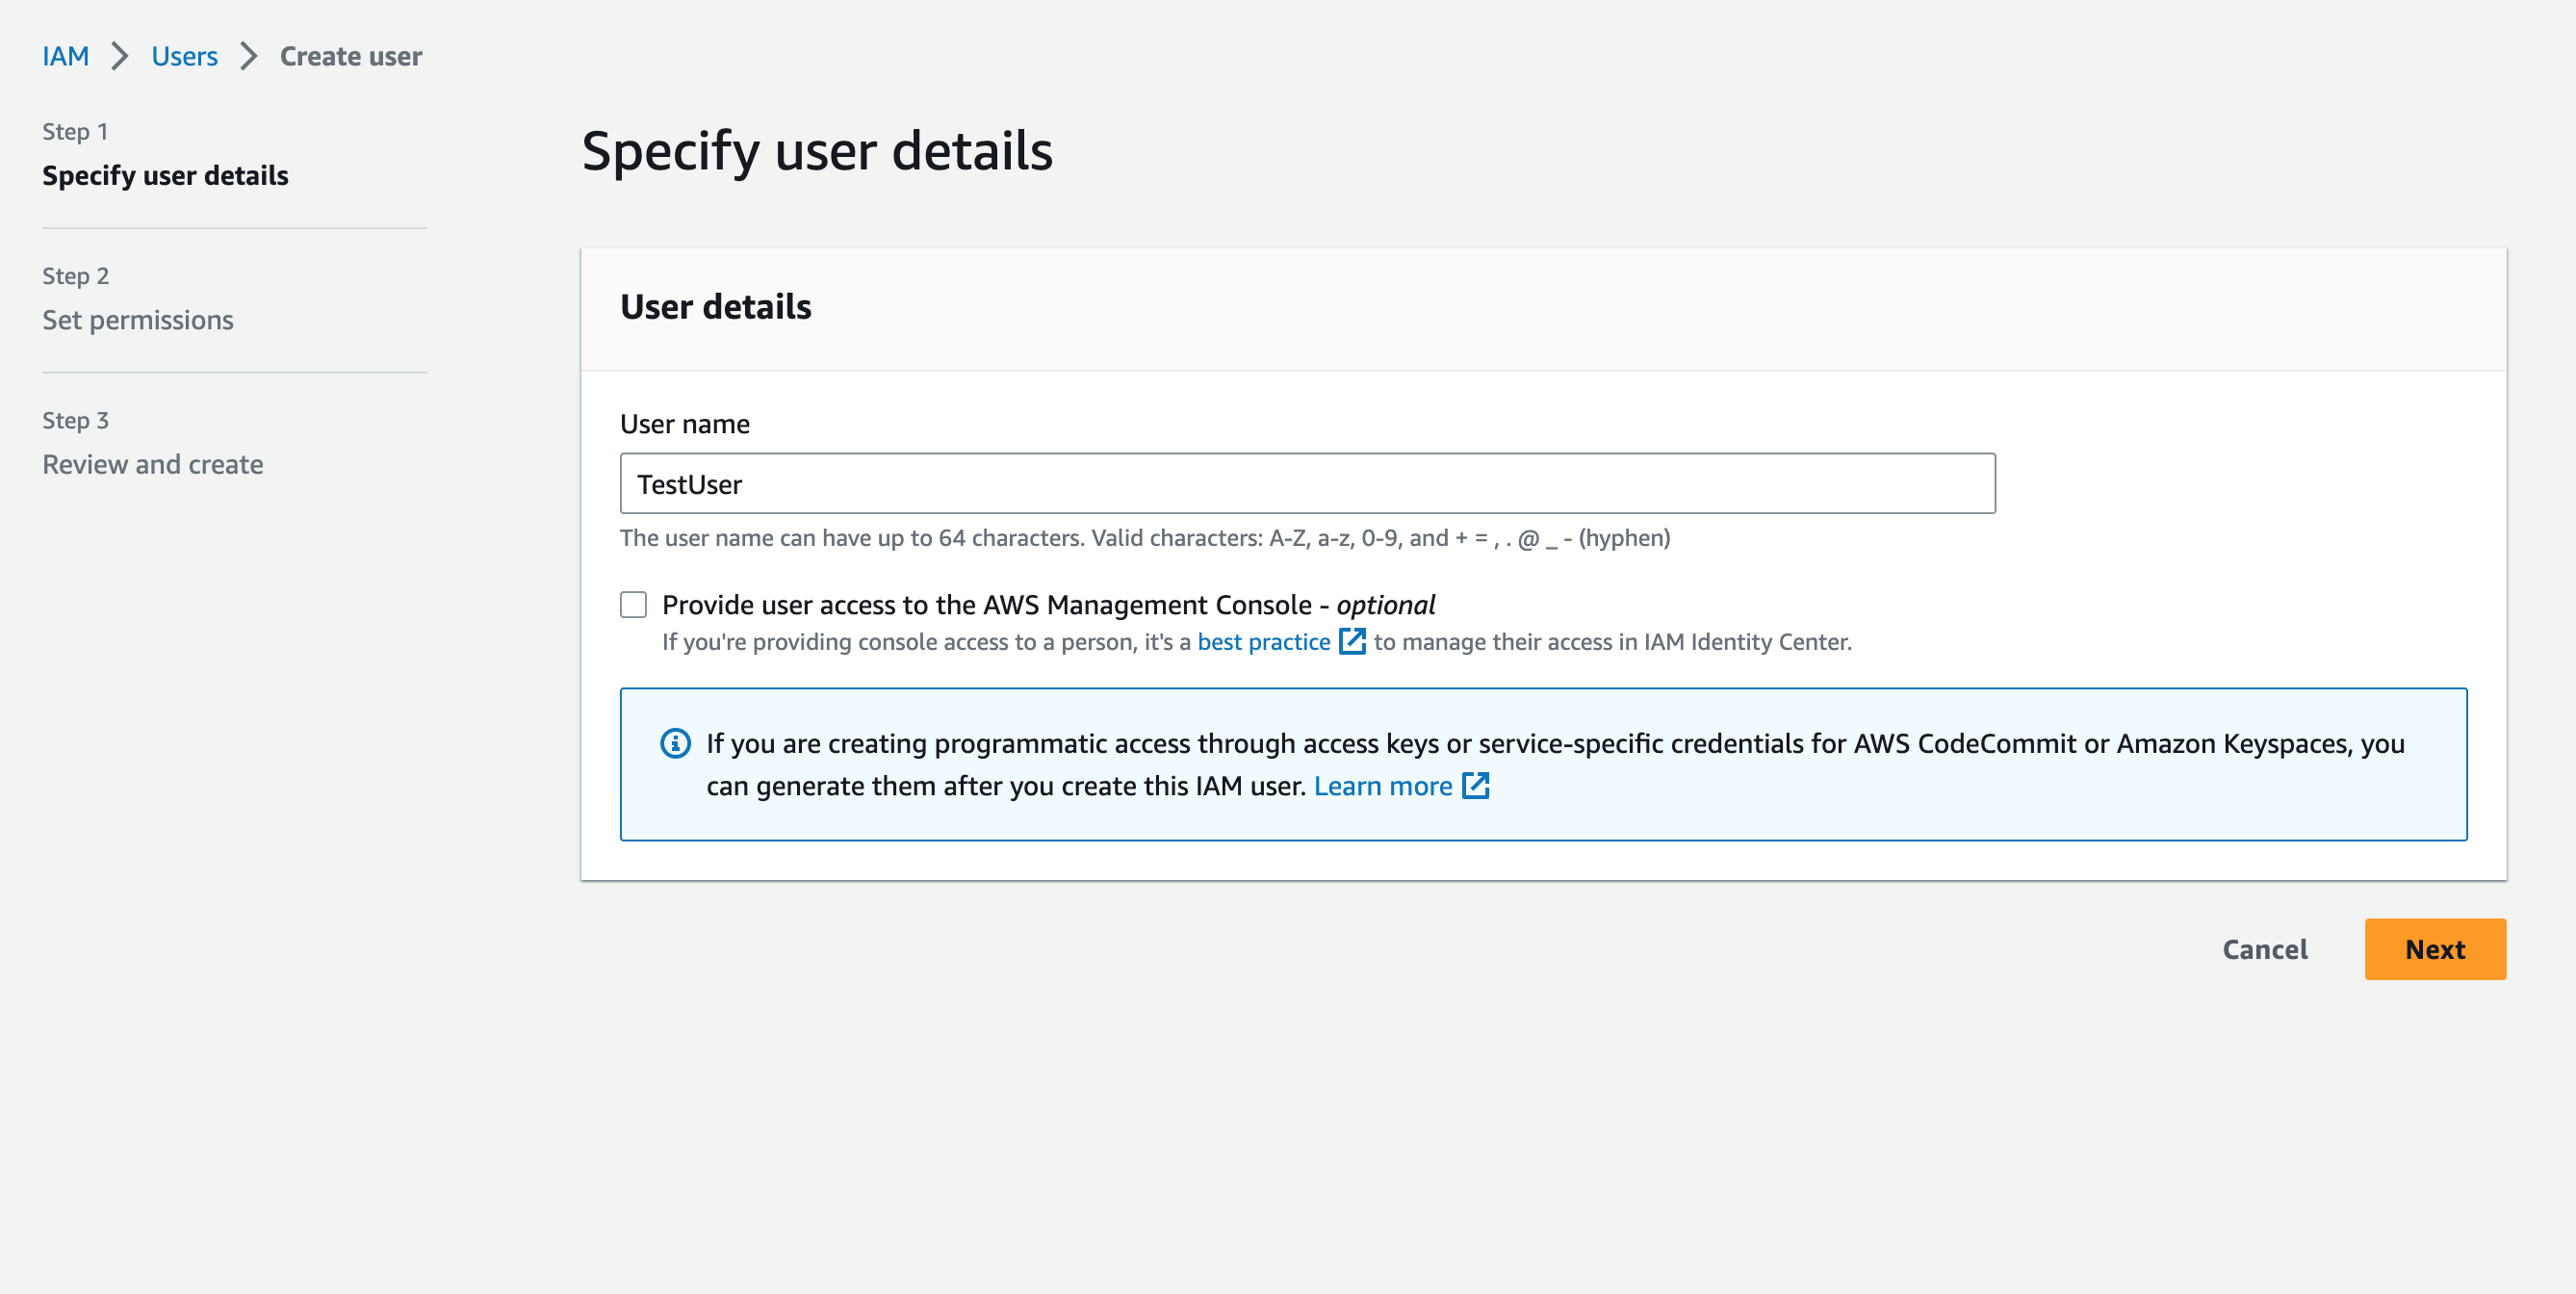
- Create a user with the logical name you’ll recognize easily, then click on “Next“
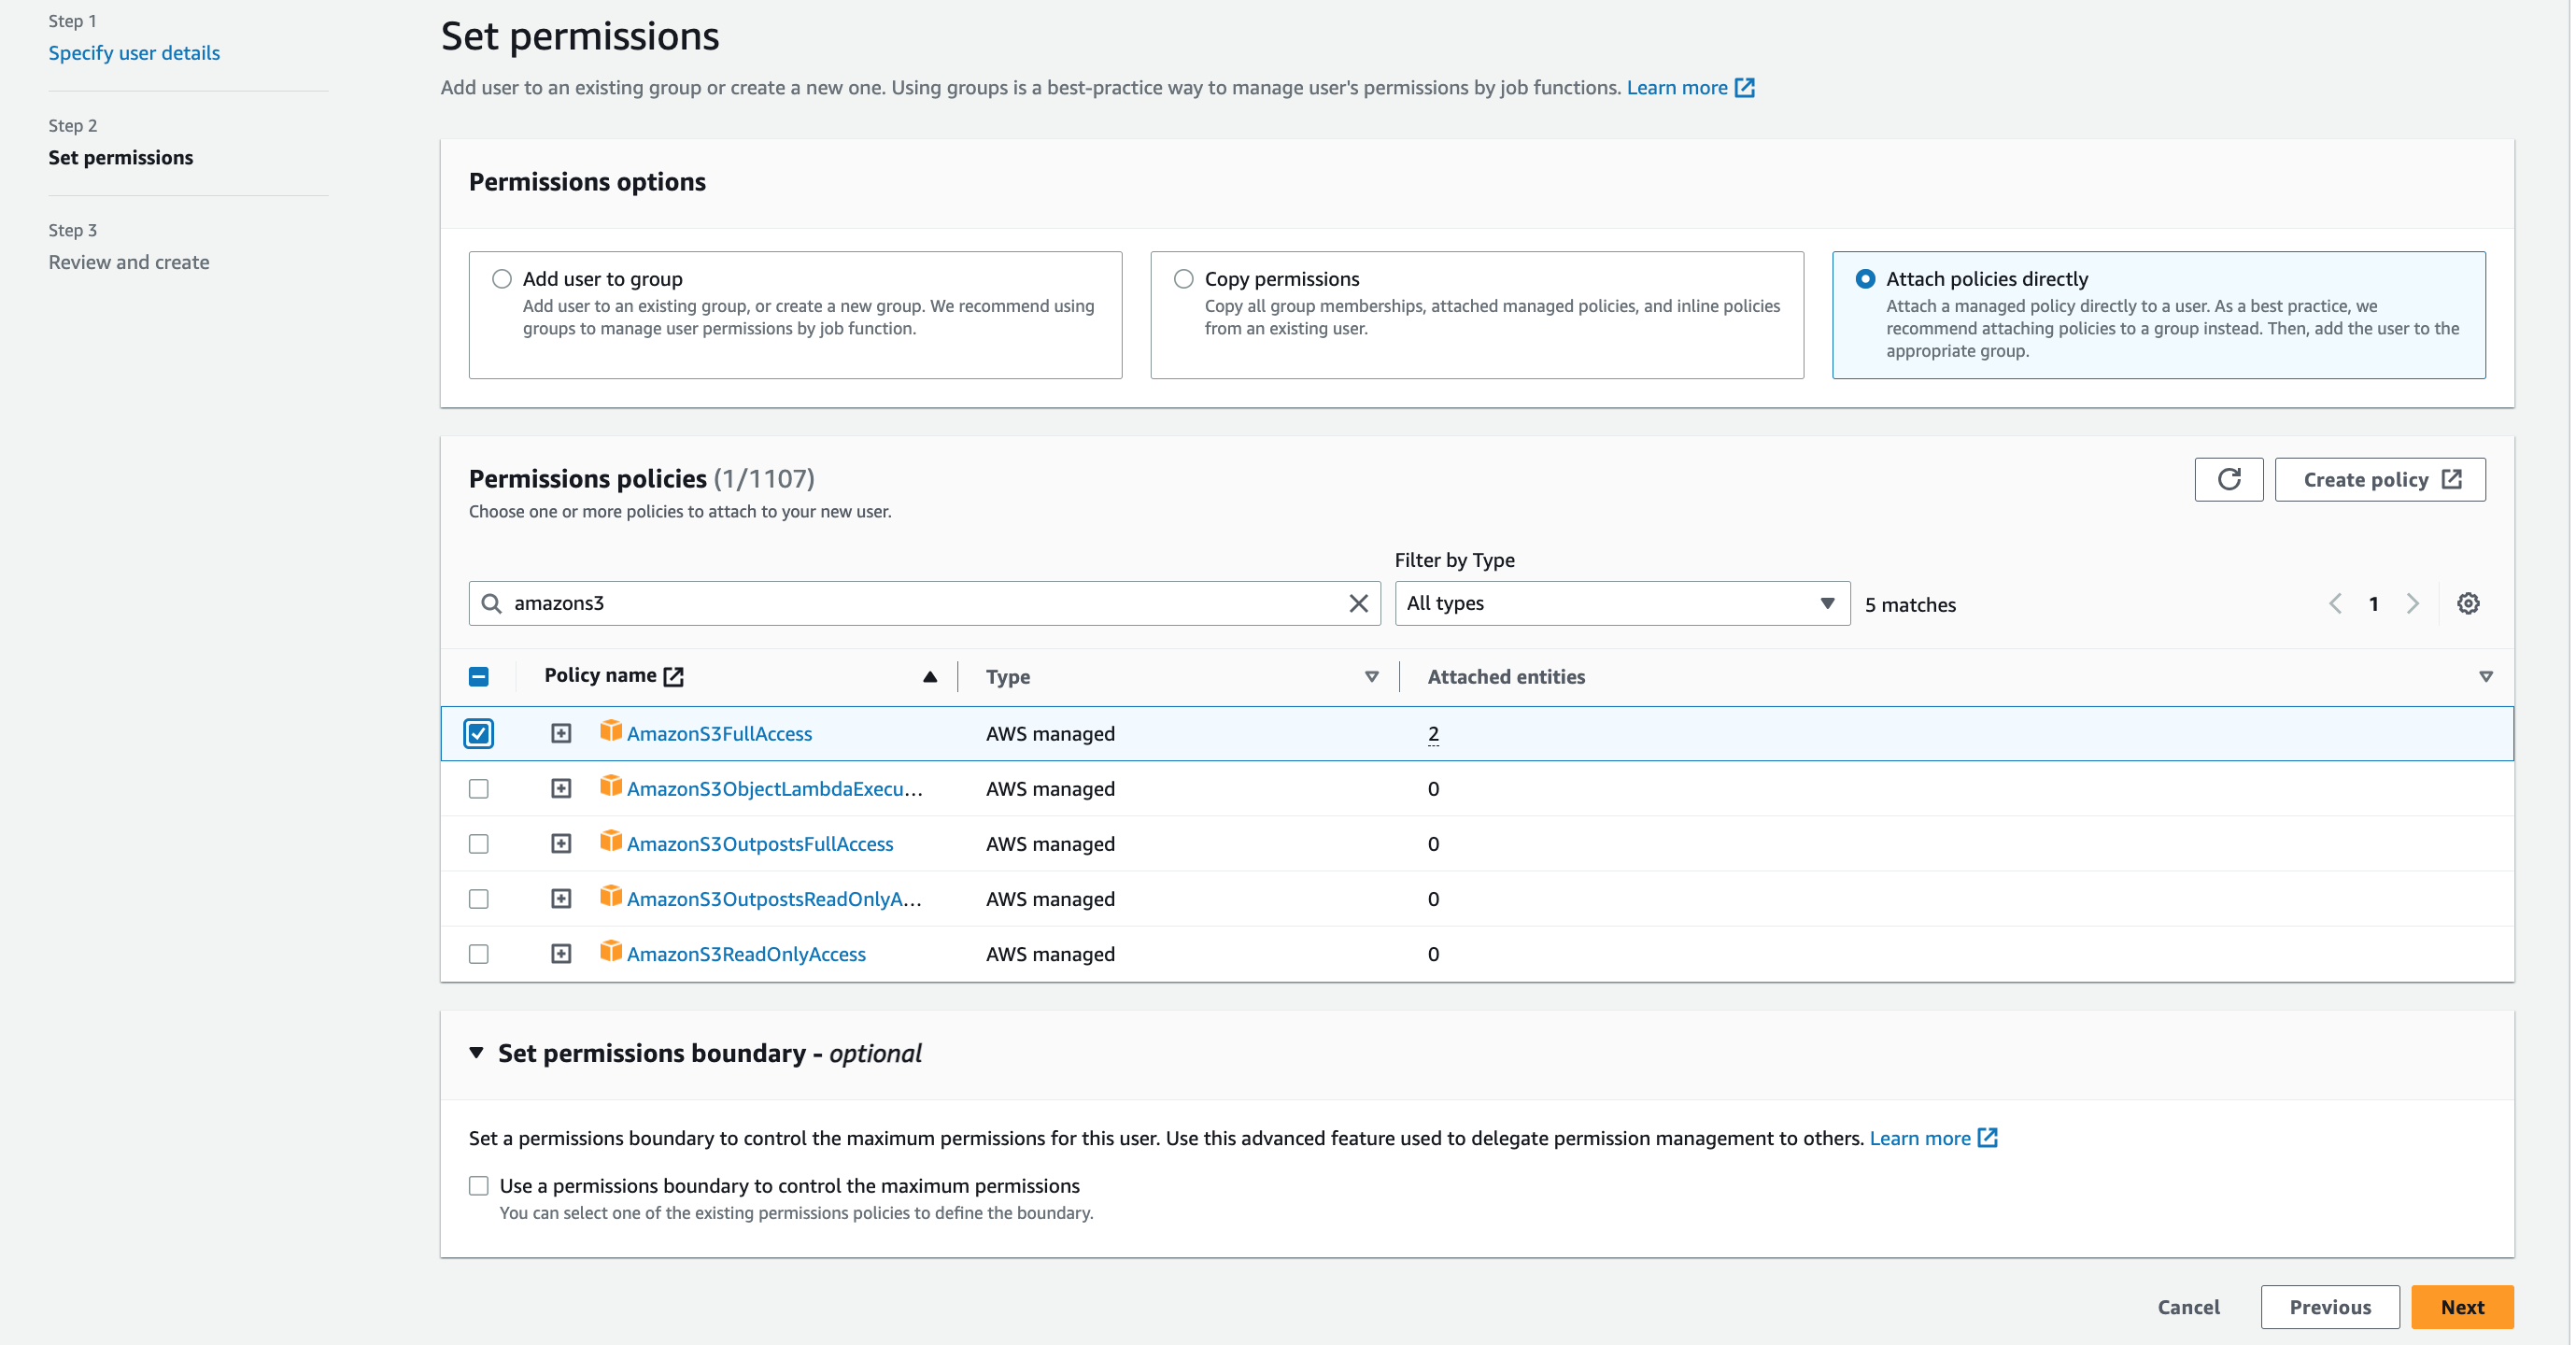
- In the permissions, select “Attach policies directly” and find “AmazonS3FullAccess” policy. Select it and click on “Next“
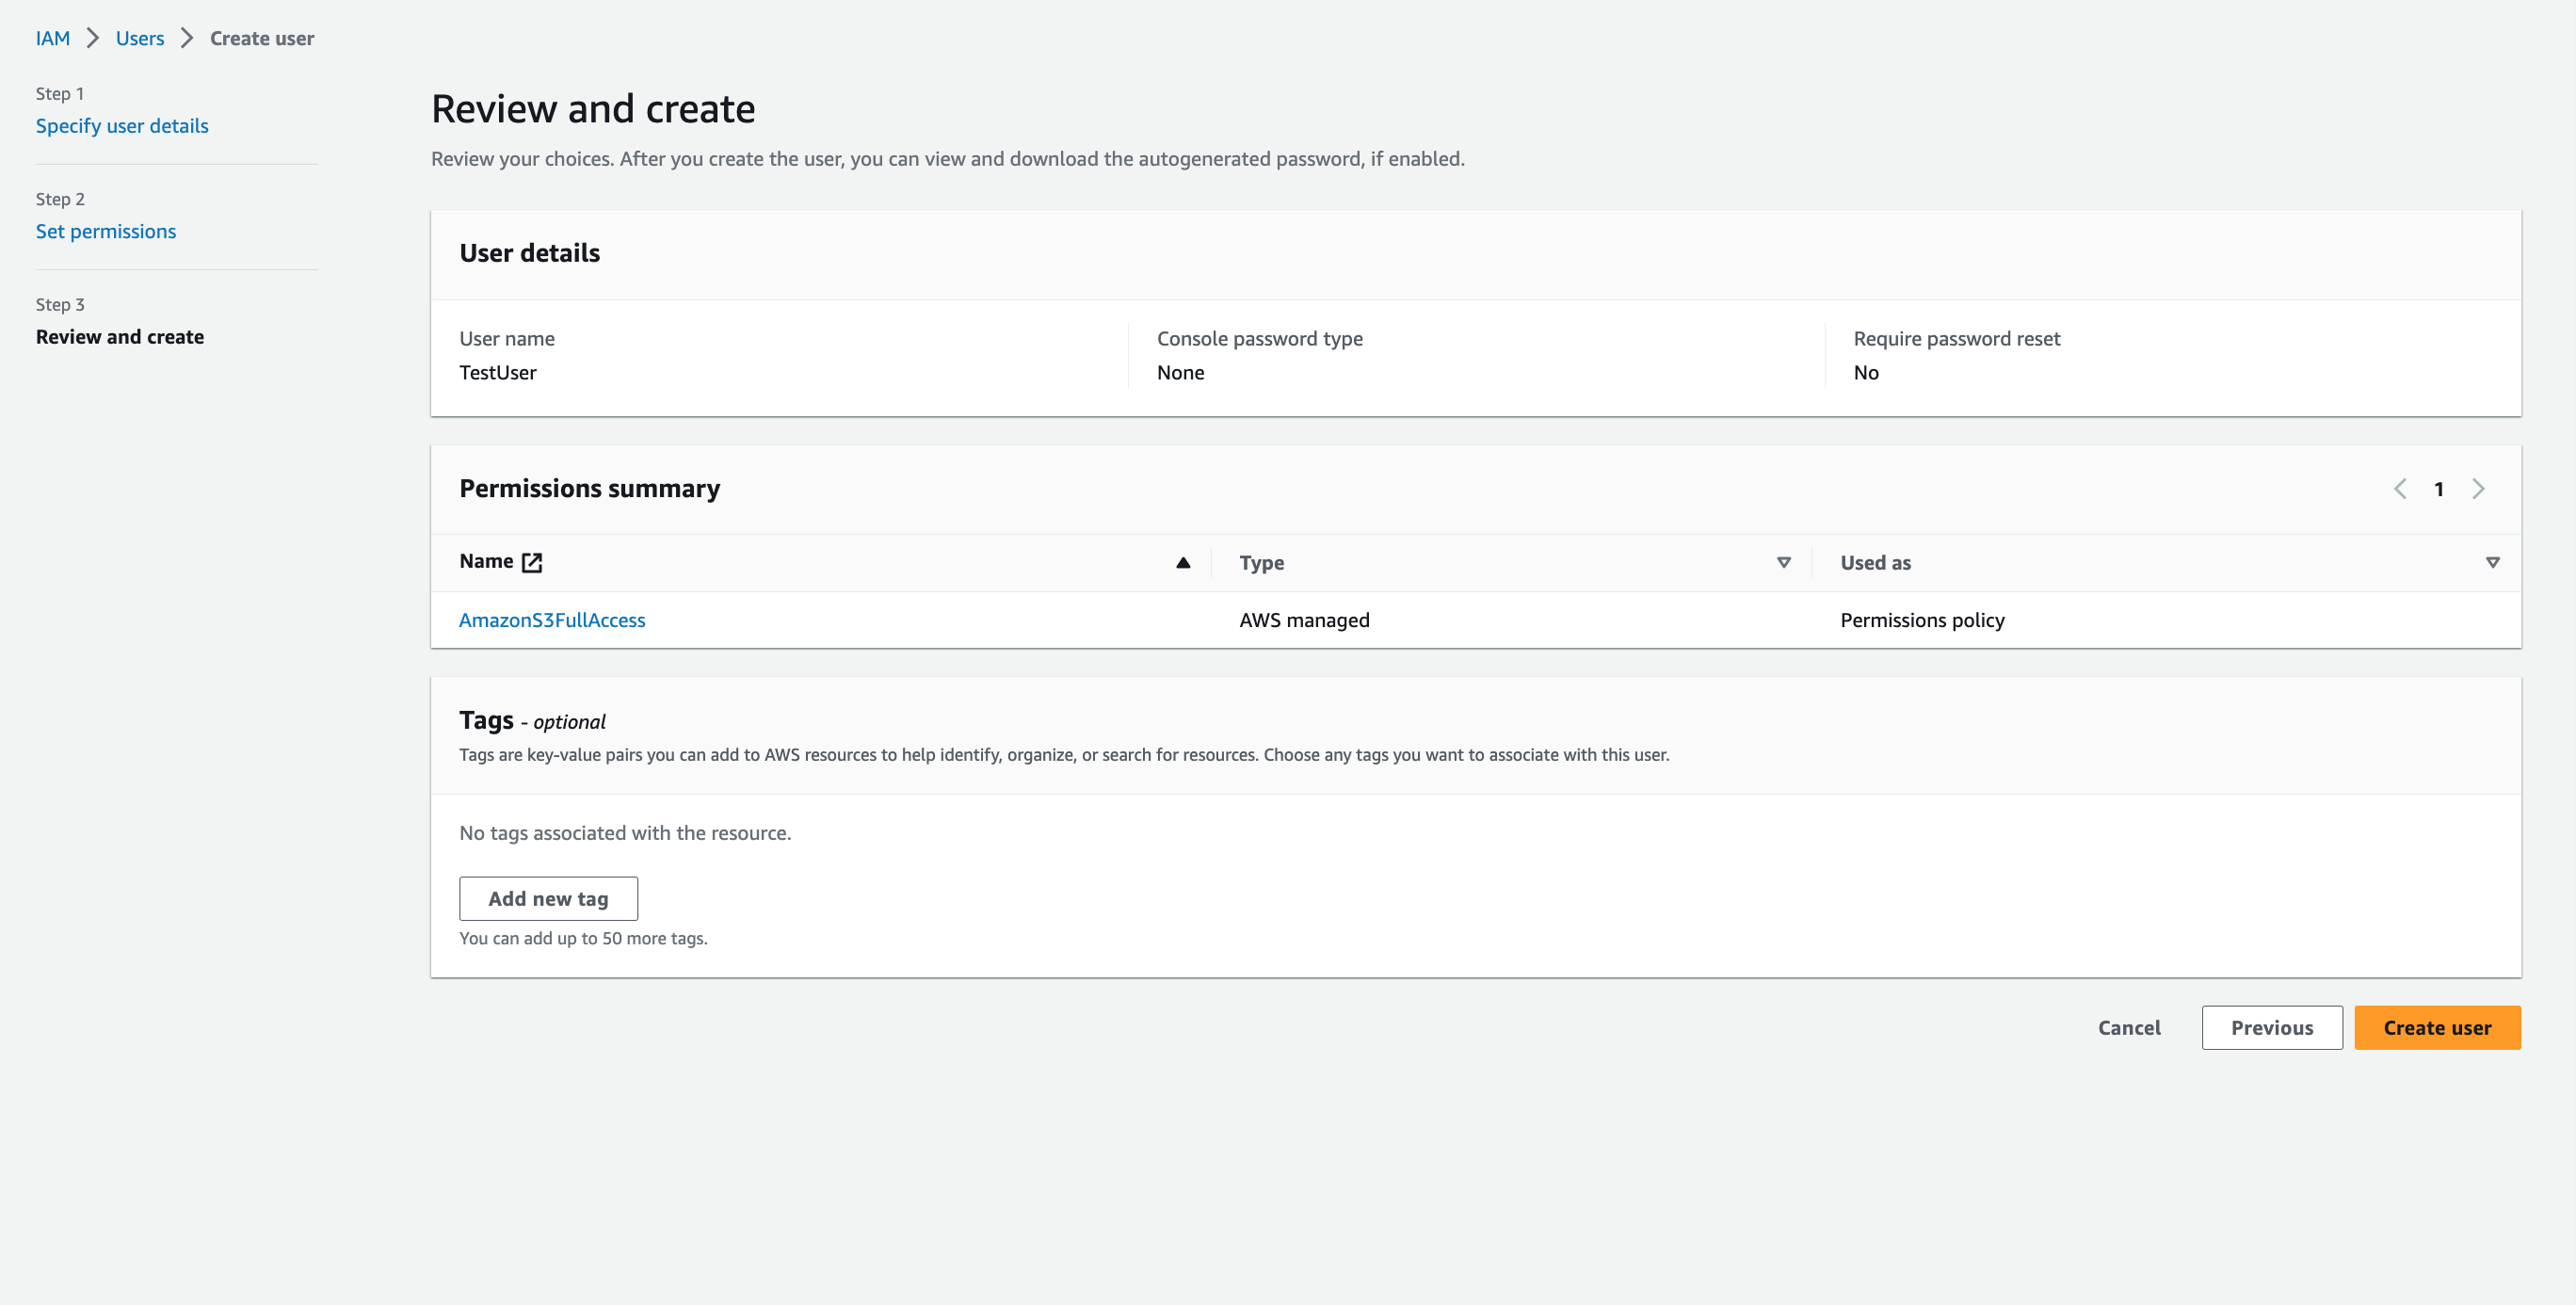
- Review all information and click “Create user“
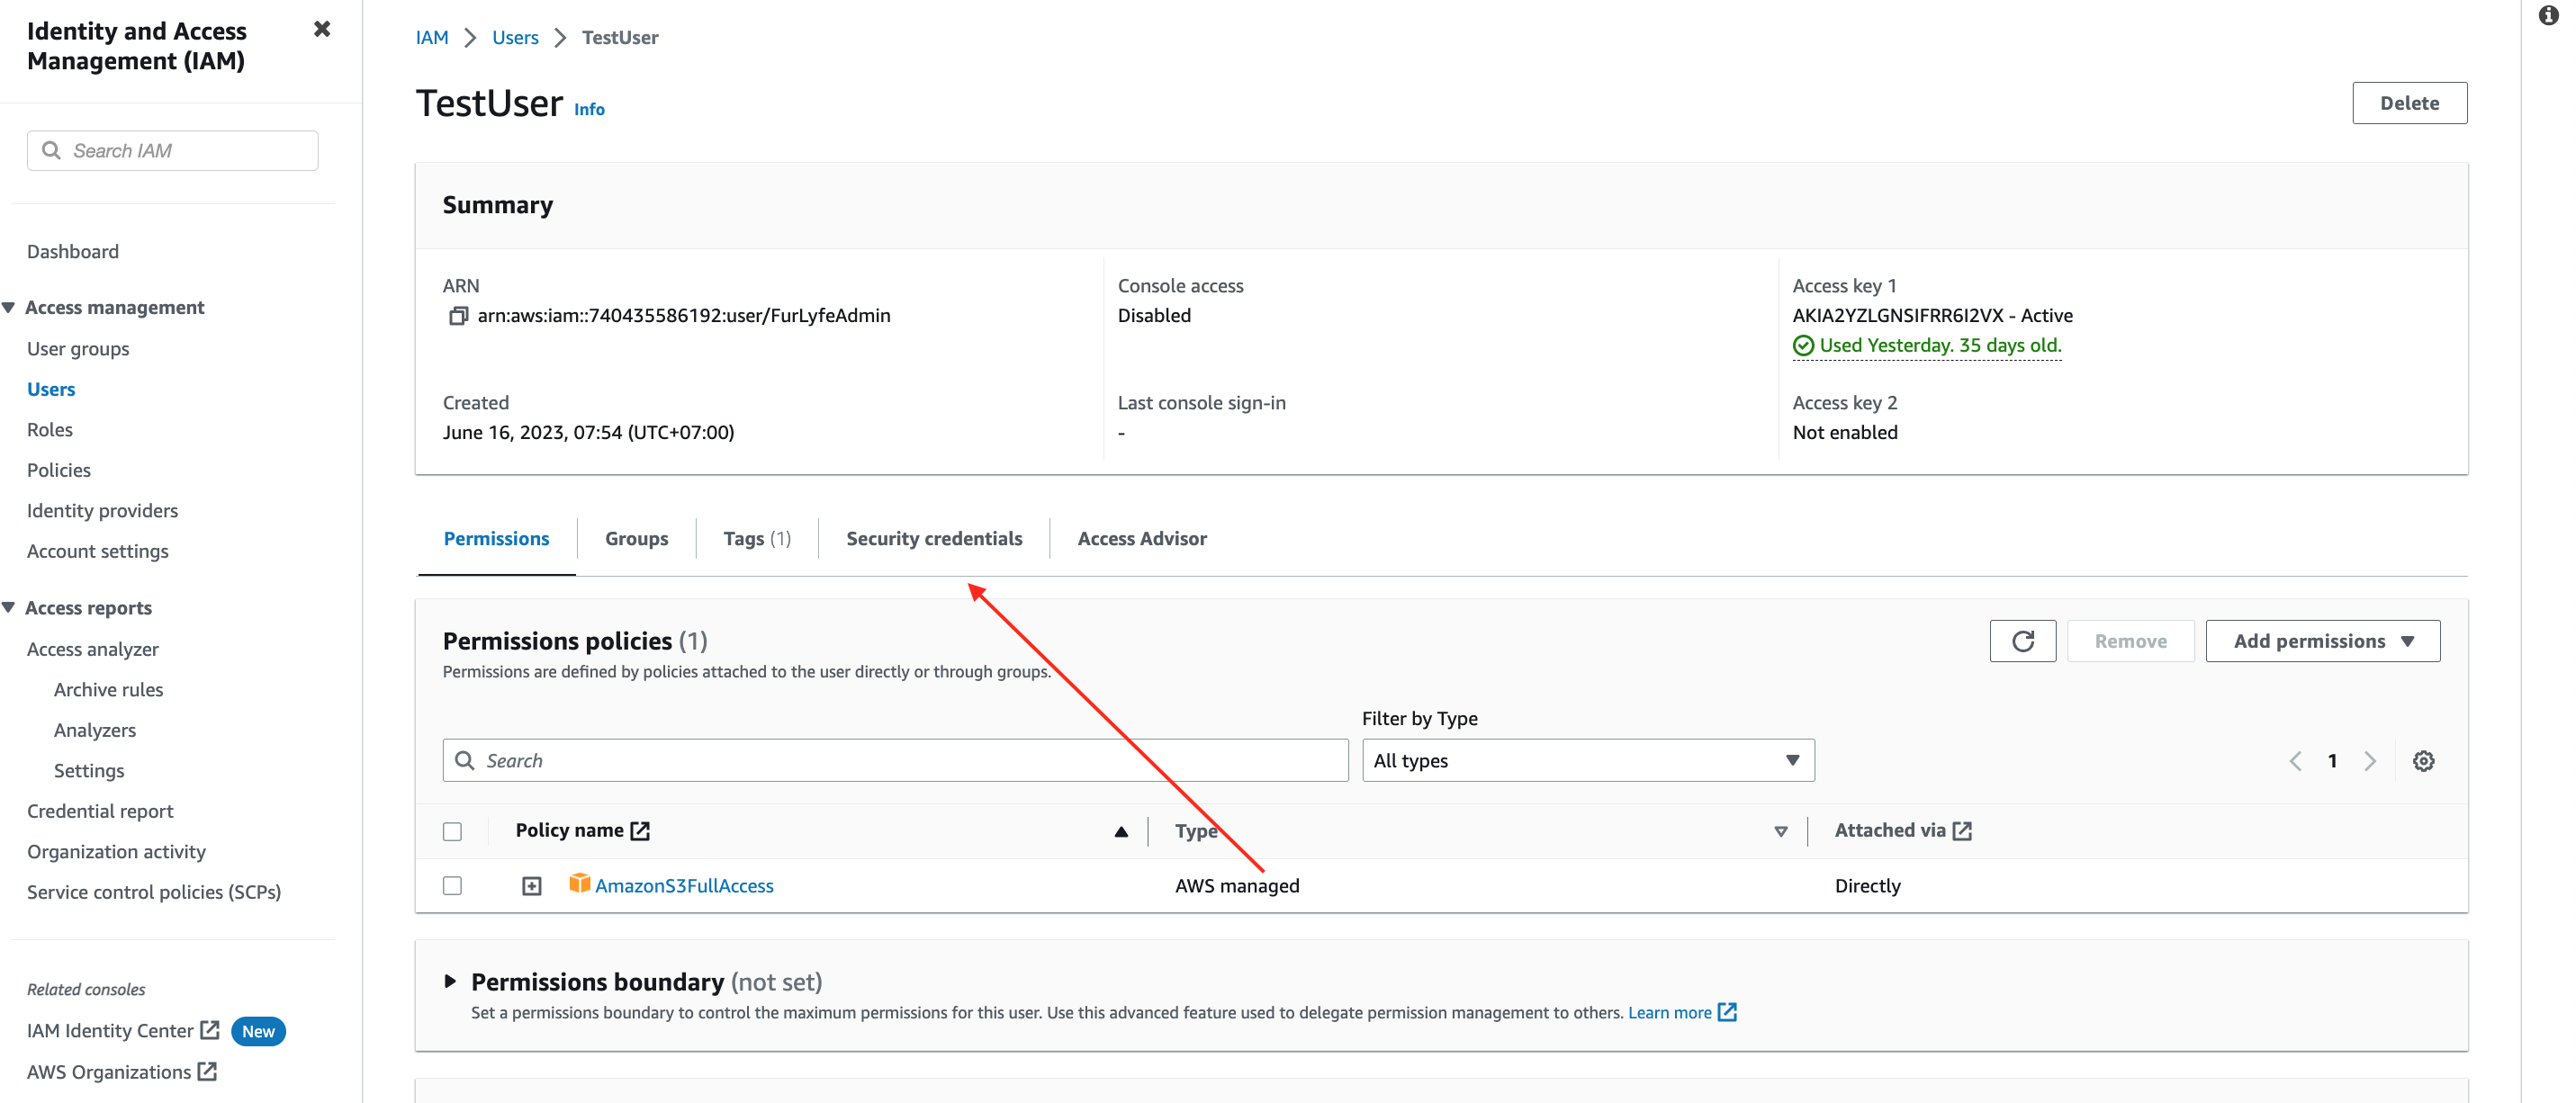
- To continue generating the access key, click on the user you just created and click “Security Credentials”.
- Click “Create access key”

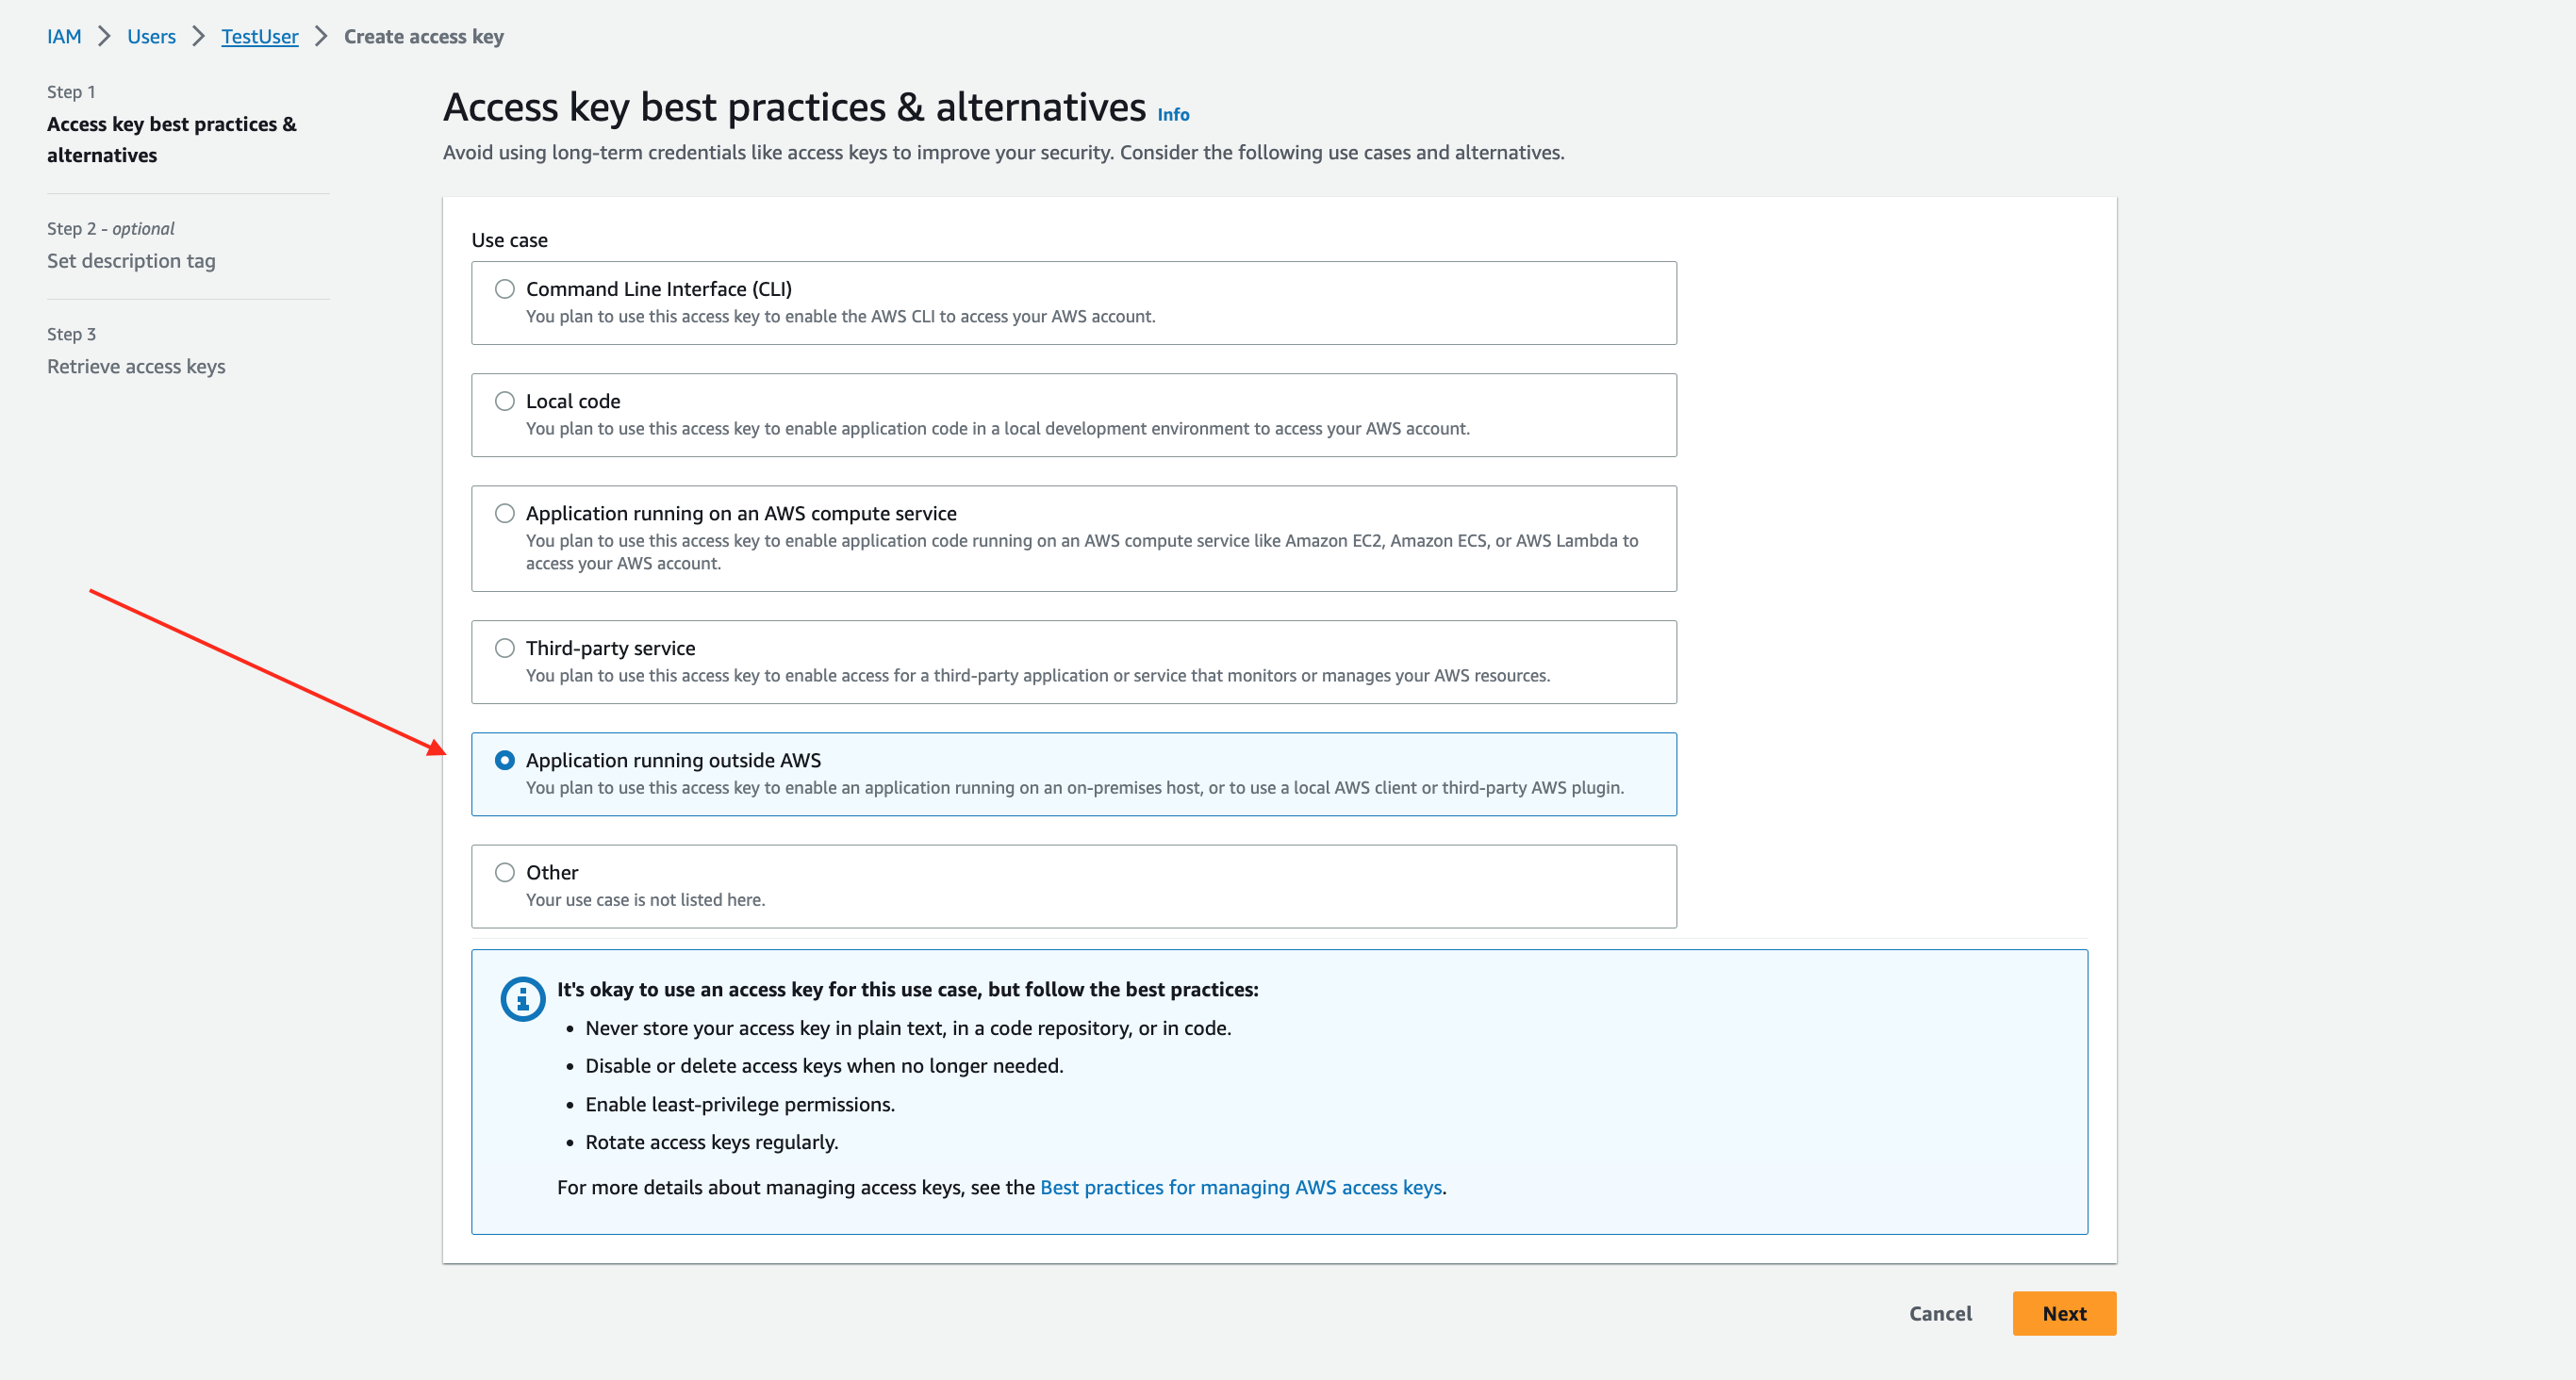
- Select “Application running outside AWS” and click “Next”
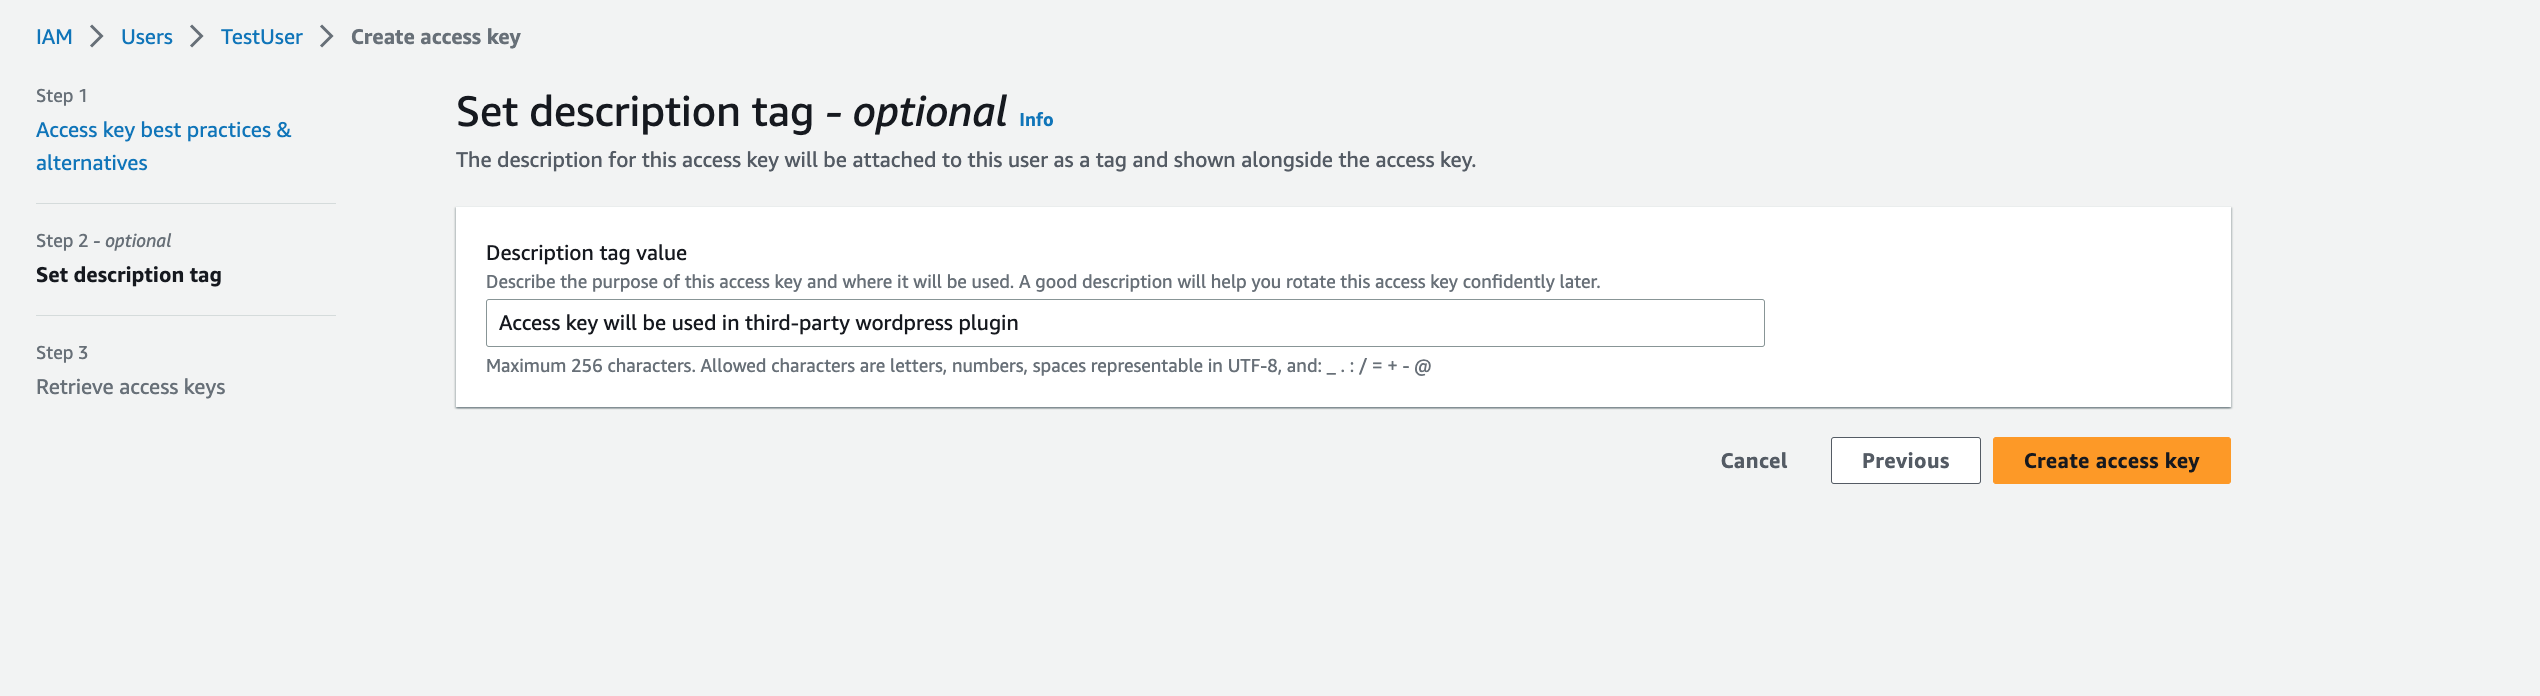
- Set the description tag and click “Create access key”
- Finally, your access keys will be shown. Copy these two keys in the appropriate location in PeepSo configuration for Amazon S3 and start using the new storage.


