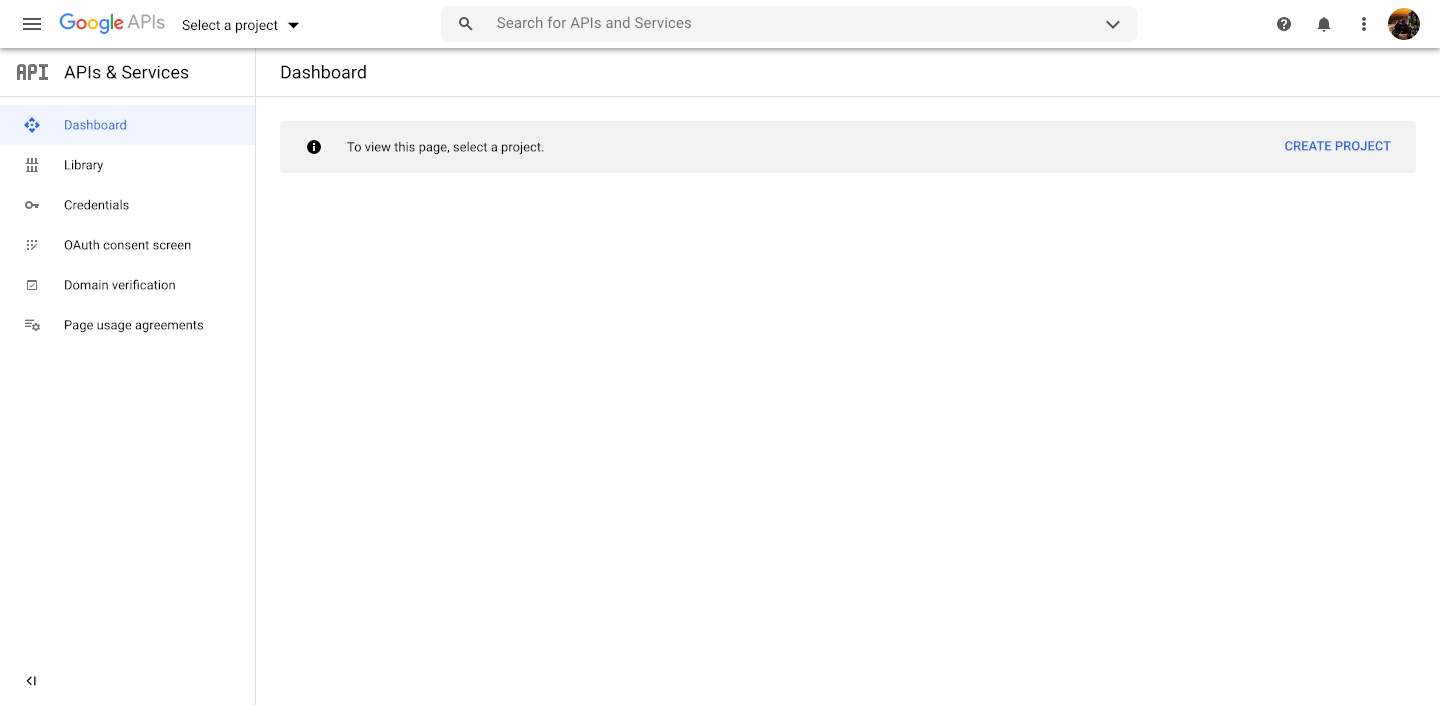
To start with the integration, go to https://console.developers.google.com/
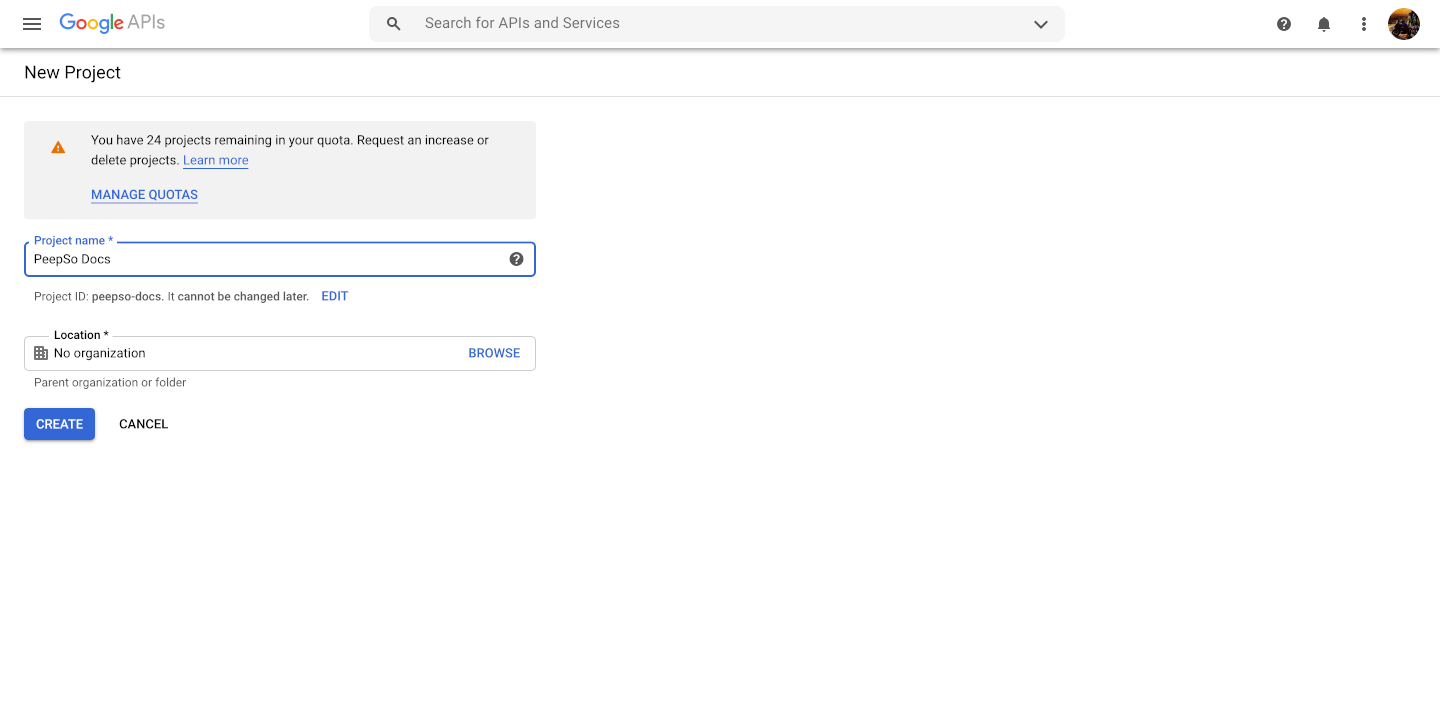
Click “Create Project”
Give it a recognisable name and press “Create”
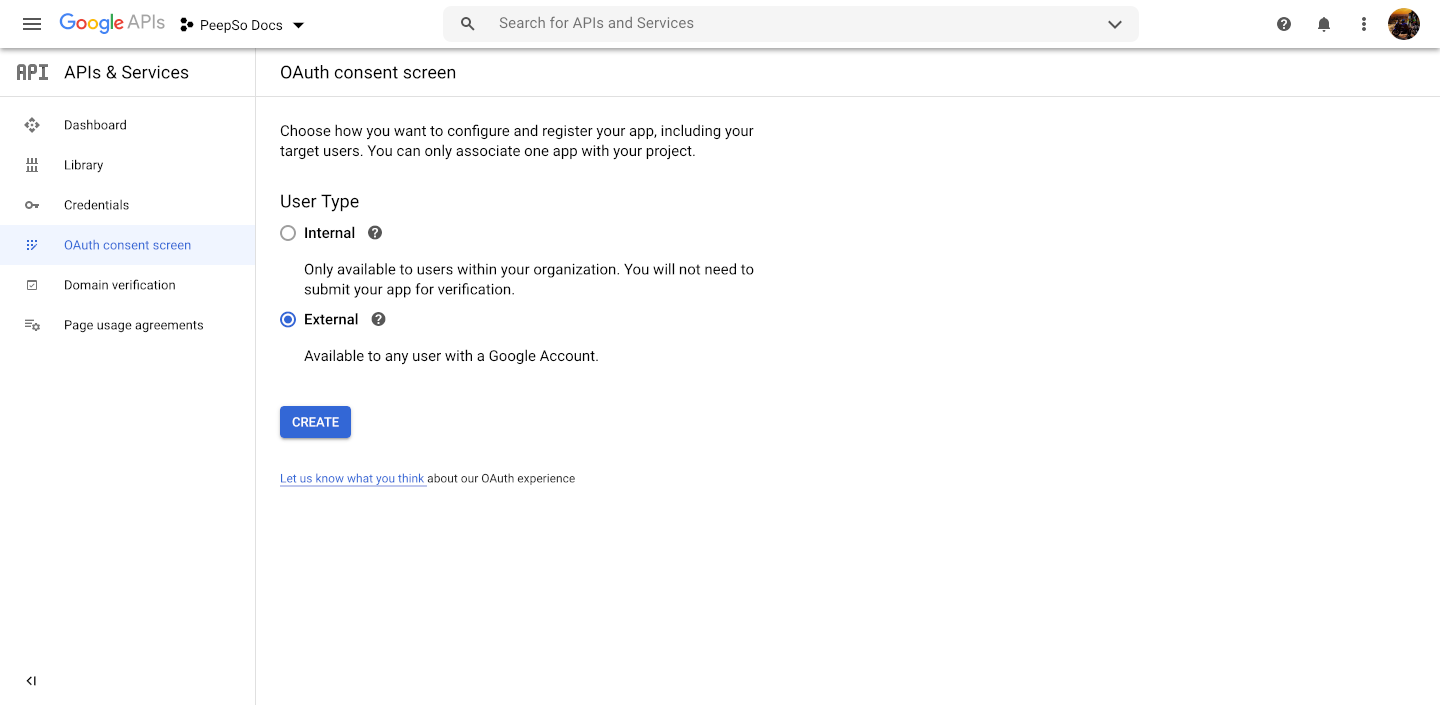
Give it a few moments until it’s set then from the left sidebar, expand the “OAuth Consent screen”.
Select “External” and press “Create”
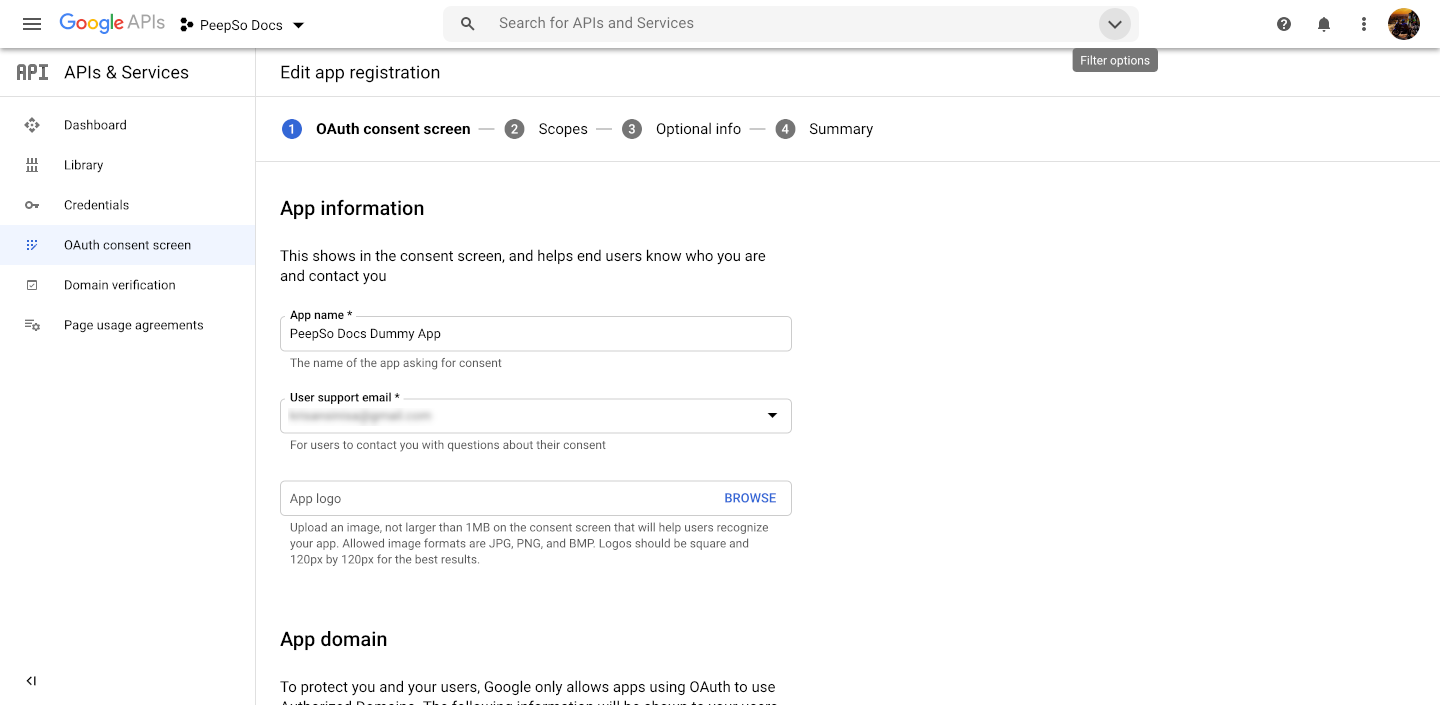
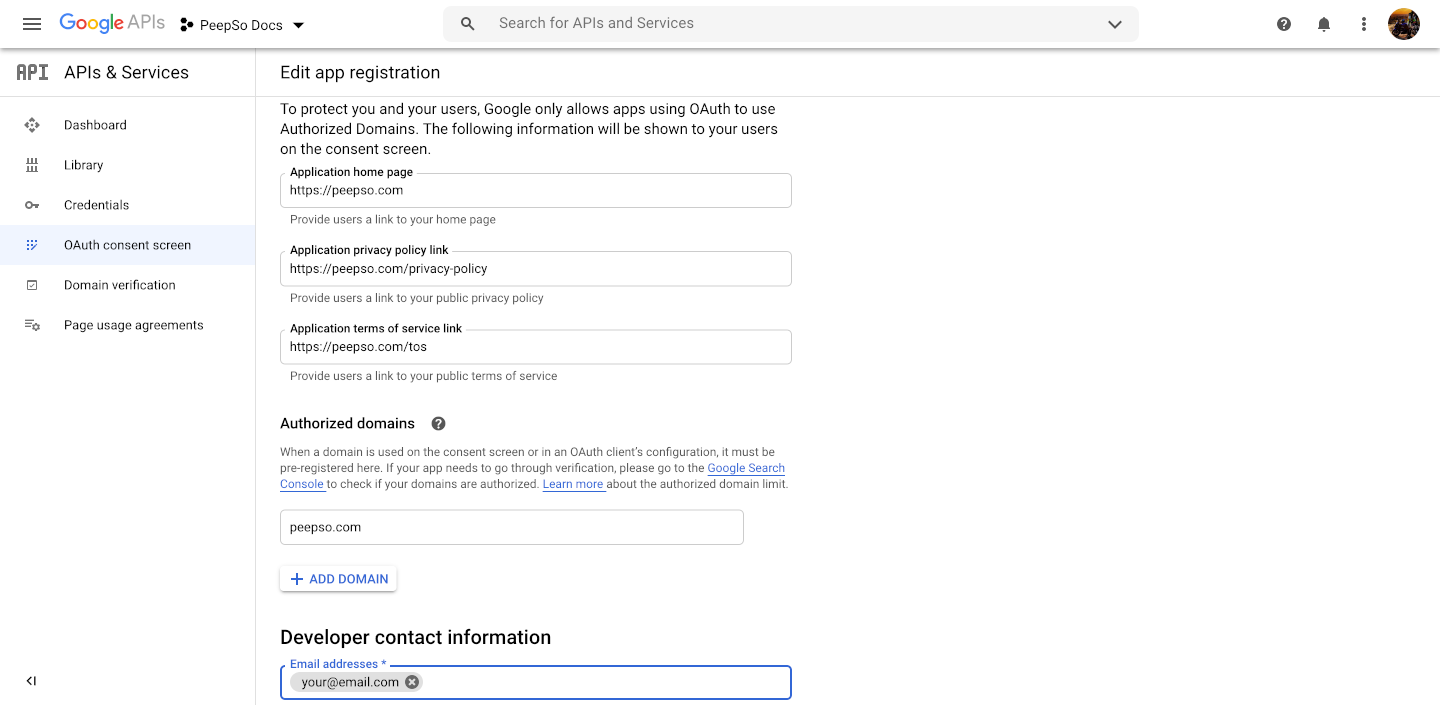
Add all required information in:
- App information
- App domain
- Authorized domains
- Developer contact information
The example of the settings is shown on the images bellow
Click “Save and Continue” on all screens coming after.
From the left sidebar, go to “Credentials”, create new “OAuth client ID”
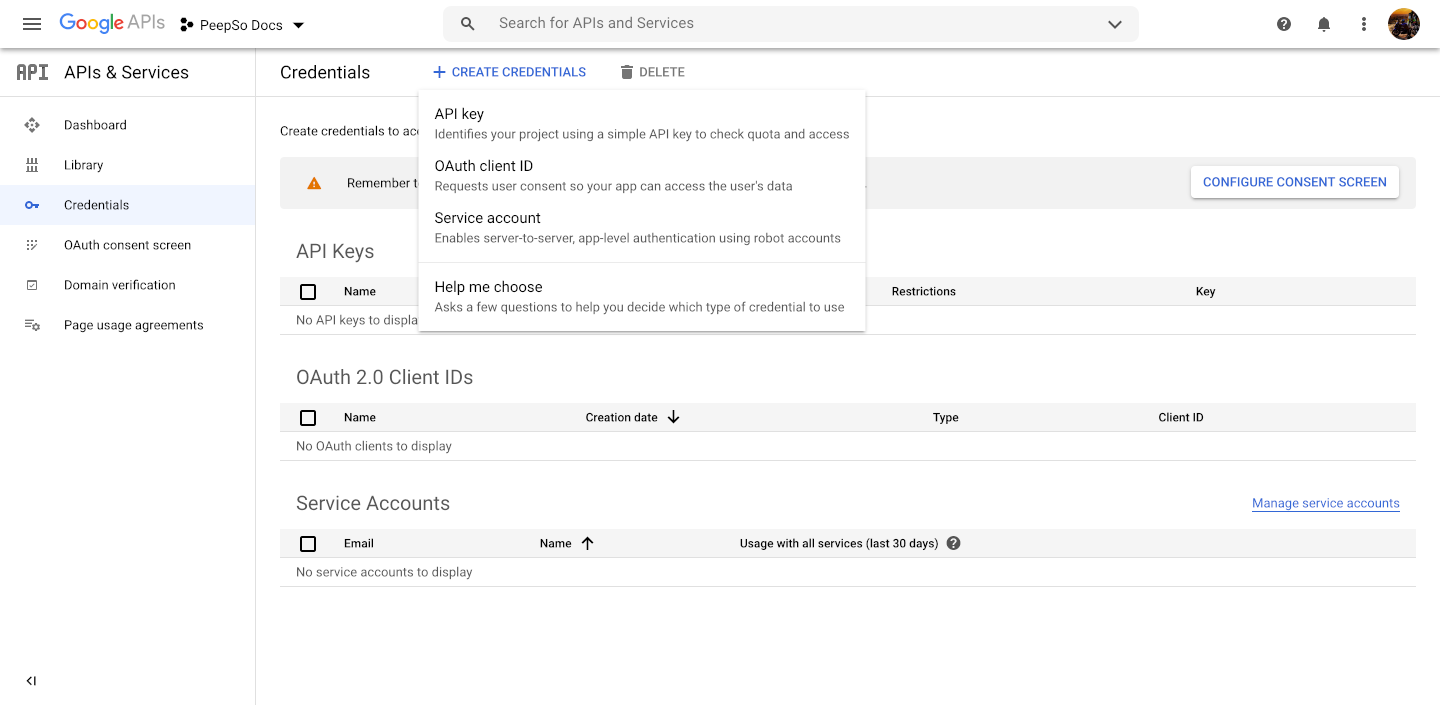
For application type select “Web Application”
Put your website domain in the Authorized JavaScript origins field. This should match with the current hostname https://your.domain.
Provide this URL as the Authorized redirect URI for your application:
https://your.domain/wp-login.php?action=social_login_authenticated&provider=Google
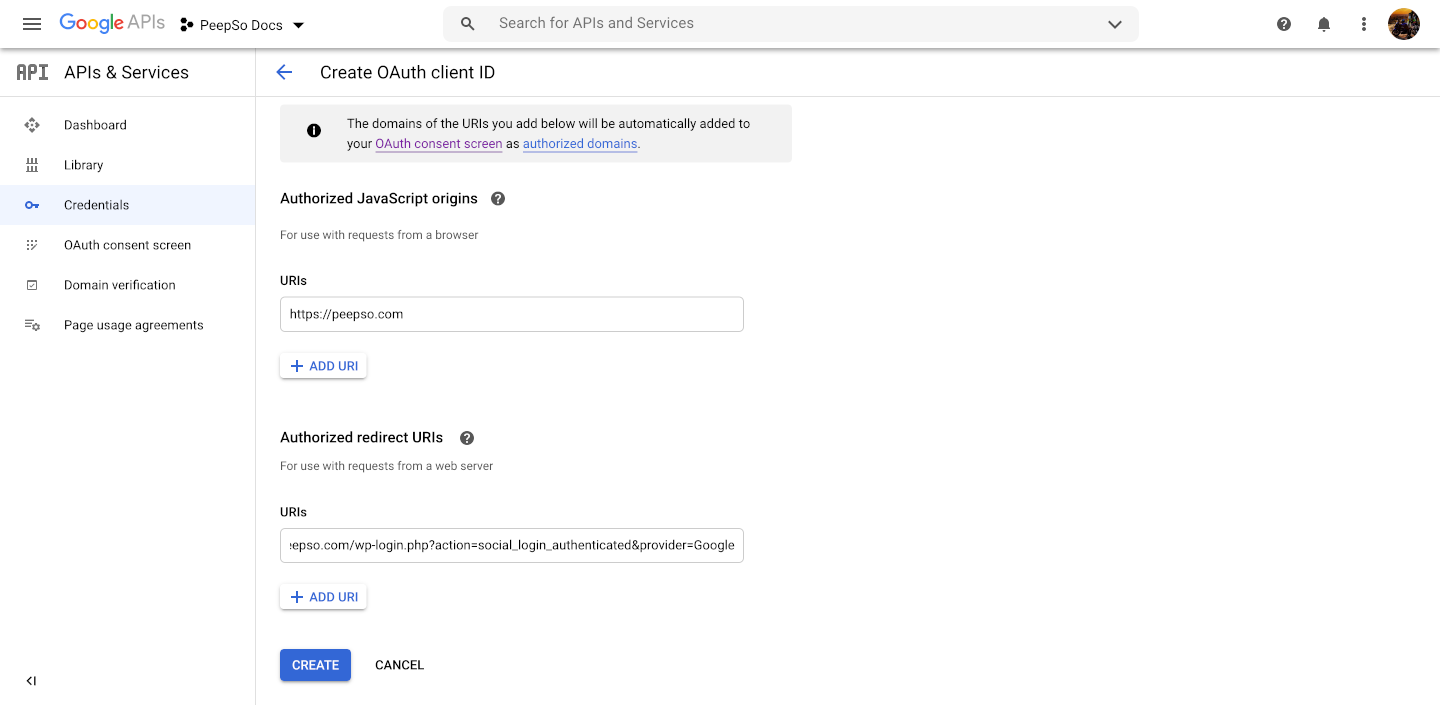
After that click create.
At this moment, you should get the Client ID and Client Secret keys which you’ll enter in Social login configuration.


