If you want to provide the best possible website experience for your users in a world of fluctuating technology, you always need to be one step ahead of it.
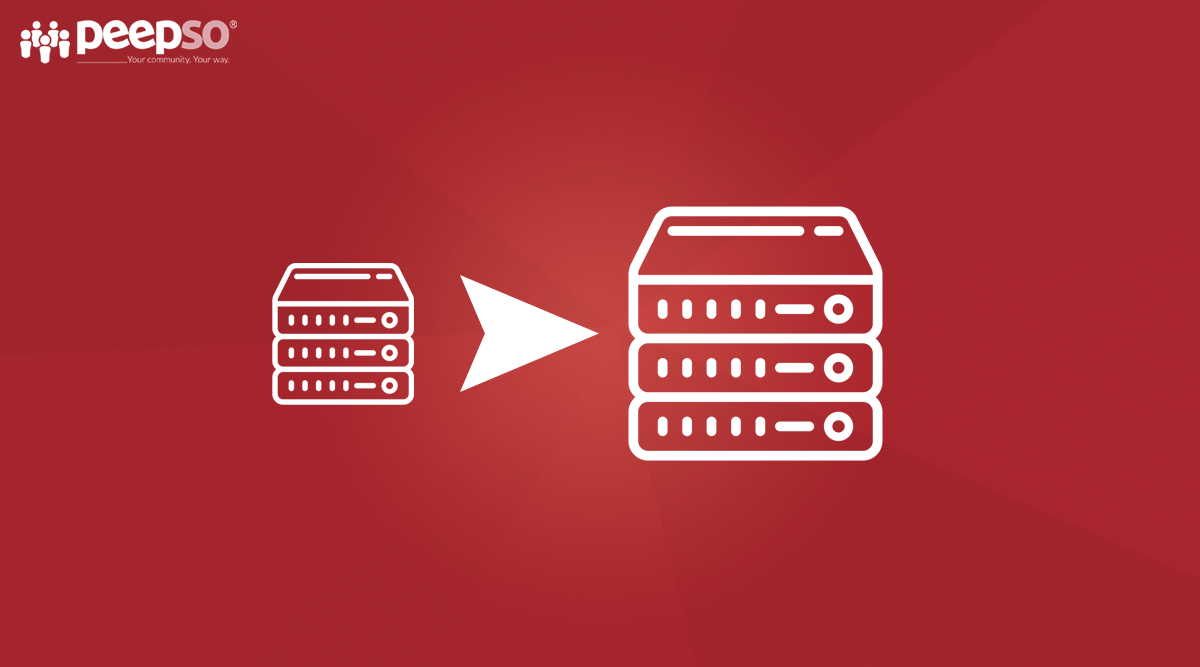
Things in web development and its environment change so fast, it seems like modern technology of today can easily become obsolete next year, or even next month. And that is normal, we have learned to live with it, so we should update our software when necessary. There is still one area where software update can actually cause anxiety, even to the most experienced website administrators, and that is the server migration.
Technically it’d also be hardware migration, but I’ll discuss the software aspect of it. Because there are so many moving parts and steps that you need to take during the process, server migration is often seen as something hard to comprehend, and you’ll often see people actually being unwilling, practically scared to do it.
I’ll explain several different methods and try to blow away some dust from this topic, by showing that everyone can do it in a matter of a few hours. Unfortunately, there are no two ways around it. The process of the migration is a lengthy one; in preparation for this blog post, it took me more than 8 hours to fully migrate a 3GB website with 1500 users from one server to another, including the DNS change. But don’t let that stop you from doing it. In the end it’s always worth it. I’ll specifically talk about the DNS change later on in this article.
Why Make A Move Anyway?
There is a plethora of reasons why you would need to make a server migration.
Most obvious is that your server is getting old, it uses old software, old hardware, or just simply old technology and you’re stuck with it. You can’t update your website, you can’t do anything worthwhile. Other reasons may involve, but are not limited to, better service at other hosting providers, cheaper hosting than what you’re paying right now, or maybe you’re being diligent and want to stay on top of your game.
Did you know that we at PeepSo change our entire server infrastructure every two years? We attentively replace the older technology our sites have been running on with the newer one. That being said, sooner or later during your site lifetime, there will come a time when you’ll think about server migration too, and I’m here to teach you how to do it efficiently, with the least amount of stress and minimum downtime.
Let Your Users Know About It
Before you do anything, let your users know about what you are planning to do. Server migration is not a thing to be taken lightly and some downtime when your site won’t be available will occur. There is nothing you can do about it because the Domain Name Service (DNS) needs to propagate the new IP address of your domain to Root Name Servers. This process can take up to 72 hours, but in reality it’s more like 12 hours. Nevertheless, you need to take the worst possible scenario as your measuring point. Now imagine if you have the paid membership site, and your users can’t access the site for three days. That’s just bad.
With that in mind, let your users know about the planned server migration and planned downtime at least a couple of days before you actually do the migration and also, provide them with options to access your new site faster. For instance, if you know your new server IP, they can easily access the migrated site through the new IP address by simply writing it down in the address bar instead of your site name. However, this might be viewed as a security risk by the browsers of your users, since you can’t apply an SSL certificate to the IP address. More tech-savvy users of your site can also manually change the hosts file on their computer and experience basically no downtime at all.
The DNS Change
The single thing that will cause most of the downtime during the migration is the change of the IP address of your site and DNS propagation. To make DNS change easier to understand, I will use the normal street address. We all have one (mostly) and we are accustomed to it. We use it to receive our physical mail, packages we ordered online, monthly bills etc. But what happens when we move out and change our address. Well, it turns into a bureaucracy nightmare because you need to report that change to the authorities. And the same thing happens to your domain name when you change the server.
All domain names are tied to a unique IP, and when you change the server, you get the new IP. That means Domain Name Service needs to update the Root Name Server and “tell” them that your domain can now be found on a new IP address. However, there’s one other catch. Devices that have been used to access your website will often cache the IP address of the site to find it faster in subsequent requests. There are plenty of articles online teaching you how to flush this cache on different devices…which might have worked quite well in the past. Nowadays, when we have super fast mobile phones and computers with SSD storage, I say – just restart your device. It’s faster, and once restarted, the DNS cache will be flushed automatically.
Create A Full Backup Of Your Site And Make Sure That Backup Is Working
Sometimes I feel like I’ve said this exact sentence a million times, but really – if you don’t create backups before making drastic undertakings like server migration, you should really reconsider the entire web development stuff. Just do it, don’t make me repeat myself. Interestingly enough, most plugins for the backup purposes will also have the option to restore your backup on a new server, and I’m sure you can see how useful that can be for what we are doing here.
Let The Hosting Provider Do It?
In this day and time of the internet as we know it, hosting providers often compete for clients by making their spectrum of services wider and including server migration for free. If you want to change the server within the same hosting provider, you don’t really have to think much. Most, if not all of the work, will be done by your hosting provider and all you have to do is pick the desired hosting package. Likewise, if you are changing hosting providers, make sure to check if your new hosting offers the option to migrate your site from the old hosting server to theirs.
These services should also come free if you’re buying the VPS or higher tier server. Unfortunately, it most likely won’t be available for shared server hosting, so there is another reason to consider VPS to start with. Some downtime will still occur, but this is by far the easiest method for the migration
DIY – Do It Yourself
But what if your hosting doesn’t want to do it, or you’re hosting the site on self-managed servers and there is actually no one to do it for you. Fret not, I got you covered. There is a simple way to do this job, and WordPress being what it is, of course does have a plugin for it. Actually, it has several plugins. There is also a precarious manual way of doing the migration by exporting the database, copying all the files, then importing the database on a new server and moving all the files manually. This process gets even trickier if you also change the domain name in the migration process. I see absolutely no reason to subject yourself to this torture, unless you’ve been living under a rock for the past 15 years or so. Just use the plugin.
Here are a few recommendations:
There are of course more plugins for this purpose, but the first two are the most popular ones. And I sneaked in one extra, which is less known in the WordPress world because it was originally made almost 15 years ago for that other platform we all like to hate, but in time, it received its native WordPress version. I find it to be the most versatile, and it offers the most options for your buck, which in this case is $0.
Duplicator (Pro)
Unfortunately, in my test-moving of the 3GB size website with Duplicator (free version), it stopped around the 1GB mark and asked me to upgrade to the Pro version because I am trying to move a “large” site. Some people have reported they had no issue with migrating even larger sites by using this plugin, so I can’t quite put my finger on how this works, and how it determines when to nag users for the upgrade. If you want to dish out some cash for the Pro version, it will cost you $69.
Here is a nice video showing how to use Duplicator Plugin:
Updraft Plus Premium
This is a really good backup and restore plugin that will do the job no matter how big your website is. It also offers the fully automated “site to site” migration which theoretically can make things easier. It has over 3 million installations on WP plugin repository and a great 4.8 rating. You really can’t go wrong with this one. If you want the premium version which offers some cloud storage integration to store your backups, it will cost you $70 per year.
Check out this tutorial for more info on this tool:
Akeeba Backup
This one is my personal favorite. I might be a little biased because I’ve been using it for a very, very long time – probably around 15 years. The thing I like the most about this piece of software is that it’s platform agnostic. I can use it for WordPress, or I can use it for any other CMS, or it doesn’t even have to be a CMS in the first place, and interface as well as features are always the same. Furthermore, it does not impose any restrictions in the free version. I have successfully moved 200GB sites with it in the past, using the free version. The process of migration is as simple as creating the backup package on your site and then literally installing that package on a different server. The plugin itself will guide you through the wizard-like type of installation and clean everything up when it’s finished.
Check out the Akeeba Backup tutorial:
DNS
Once the site has been moved, the only thing left to do is change the DNS record to point your domain to the new IP address. This heavily depends on the interface of your hosting panel, or the site where you actually purchased the domain, so it would be best to see the official documentation of your hosting provider for exact details and step by step instructions.

Reactions & comments
Comments